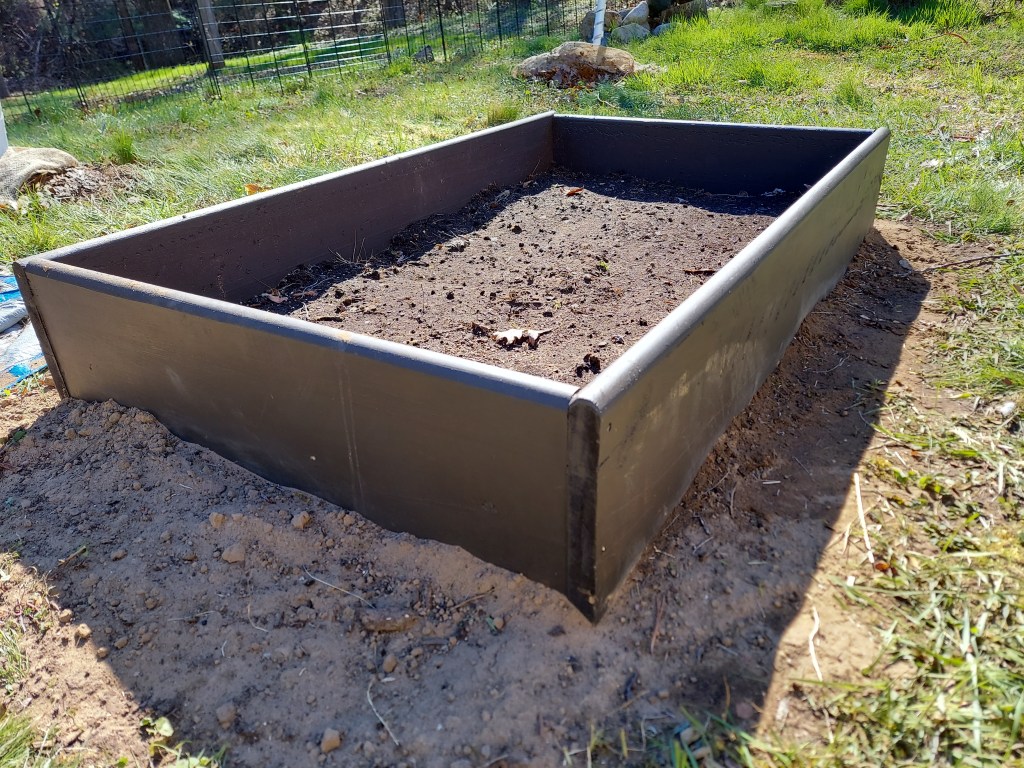
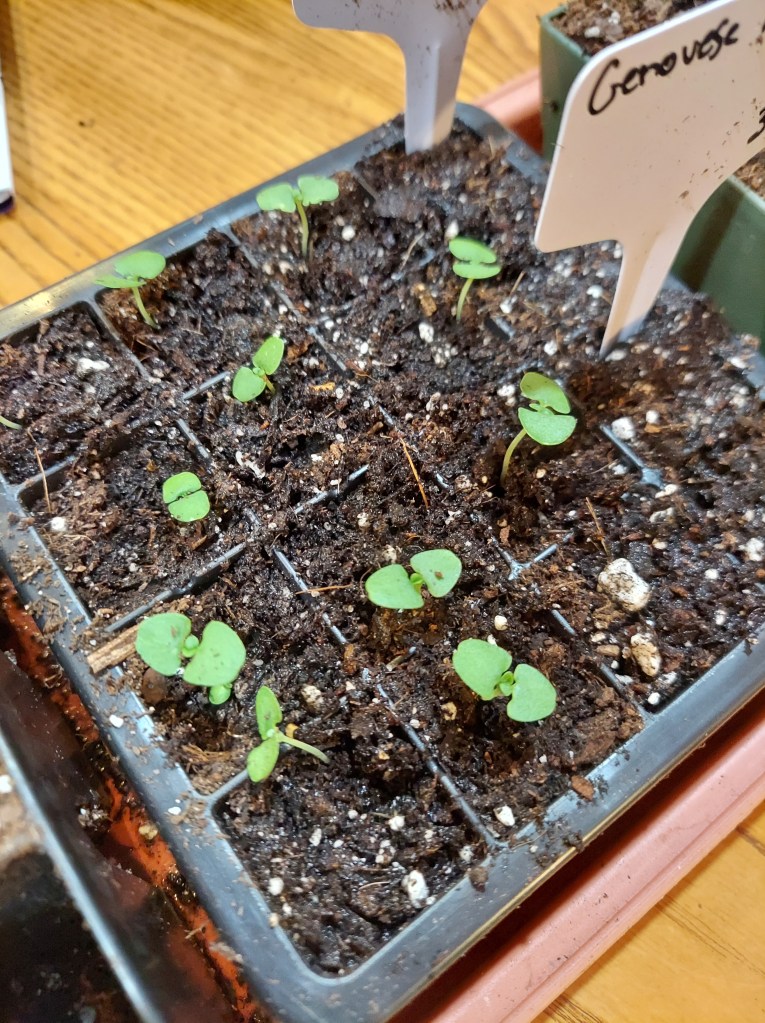
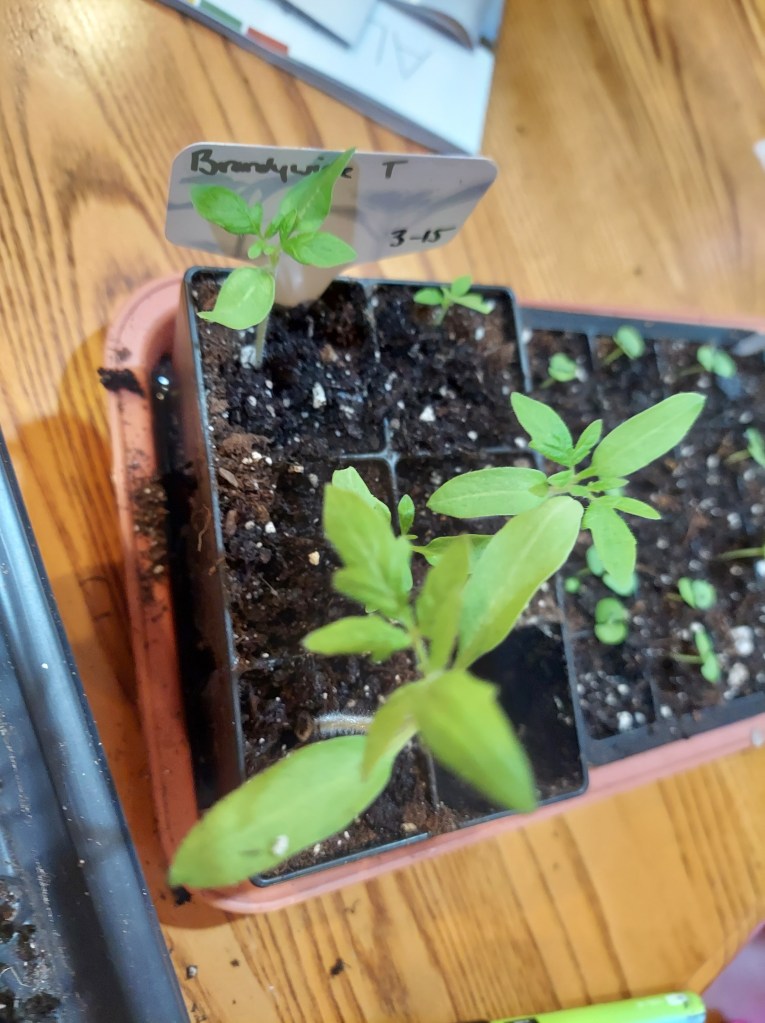
May was a very busy month in the garden. We assembled a new metal raised bed, replaced a rotting wooden bed, and spent an entire day digging up and putting hardware cloth beneath the longest single growing area in the garden. Many plants were transplanted out to both the greenhouse and the beds, and I also sowed a bunch of seeds.
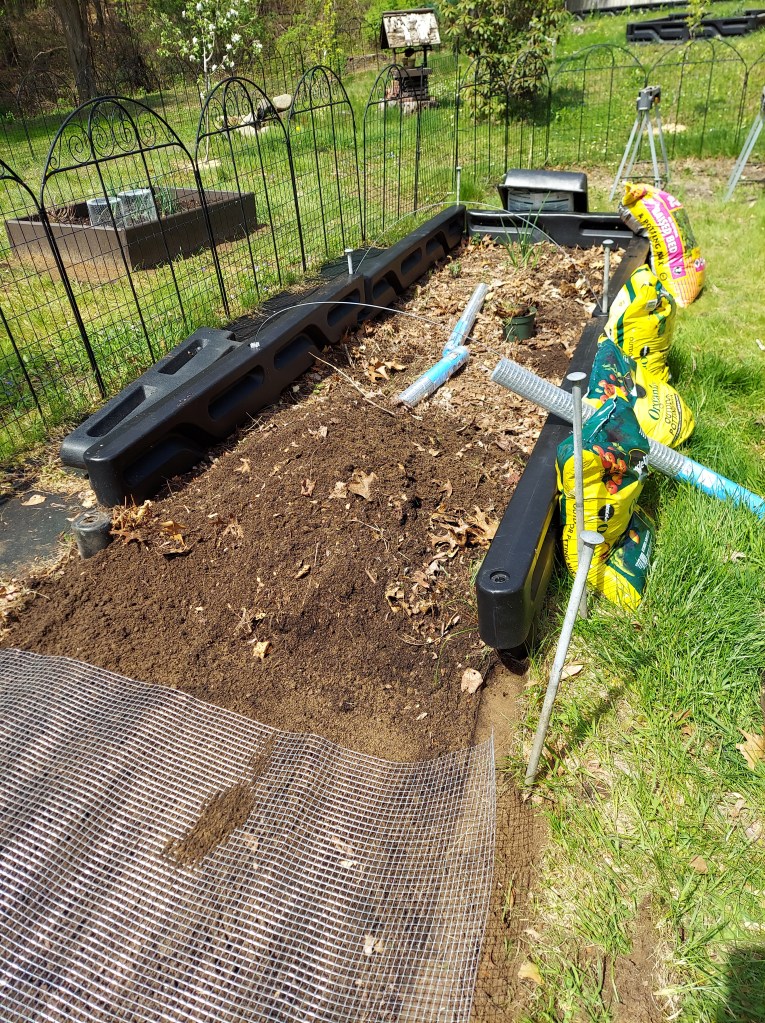
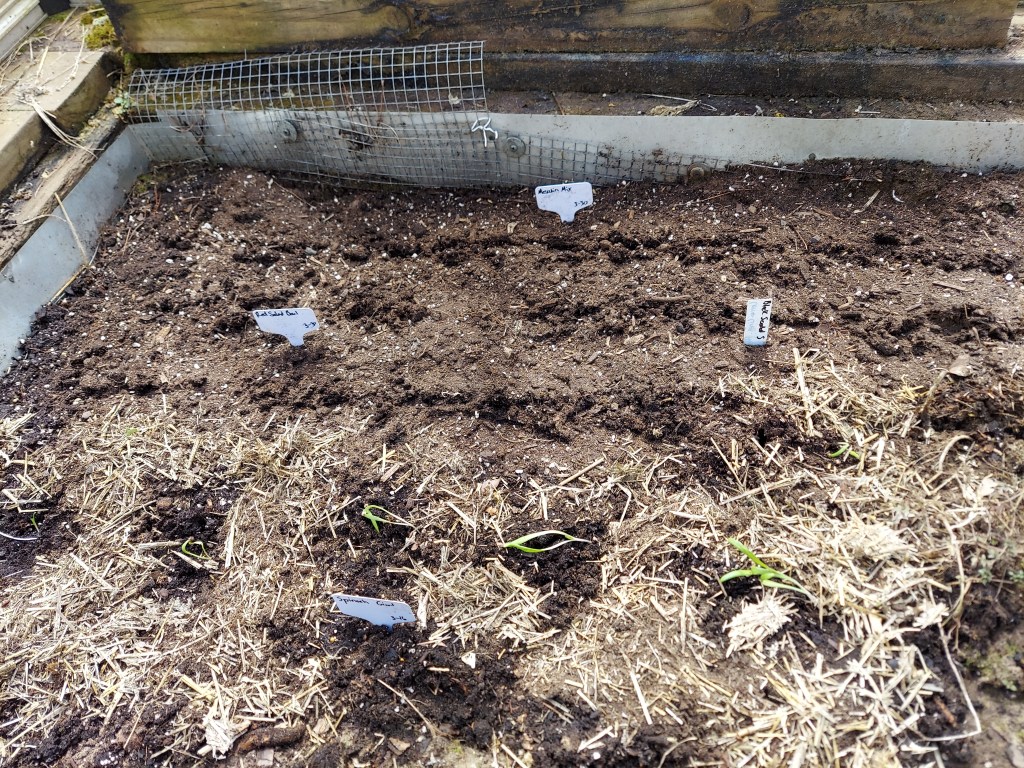
We’ve been having vole problems for all the years that we’ve been gardening. I live in a very sandy area, so there is very good drainage, but also makes it very easy for voles to tunnel. Towards the end of last season I was losing plants left and right, one whole section of a different bed was dug under and plants died because their roots had been eaten. In May we completely dug up this section and added metal hardware cloth underneath.
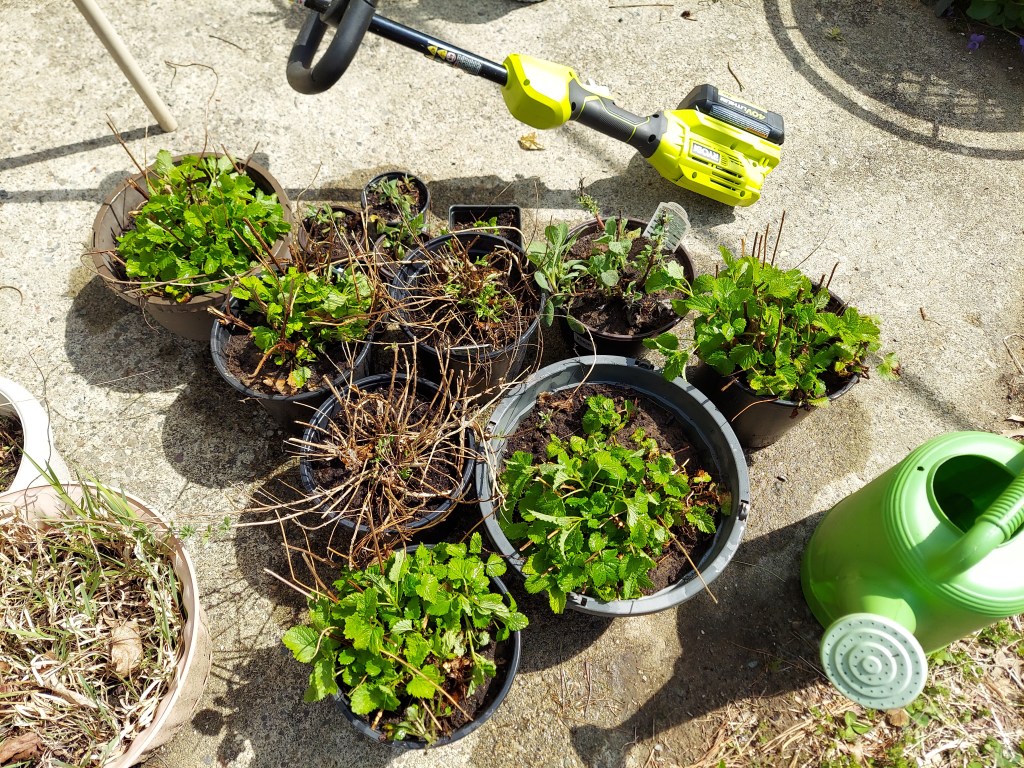
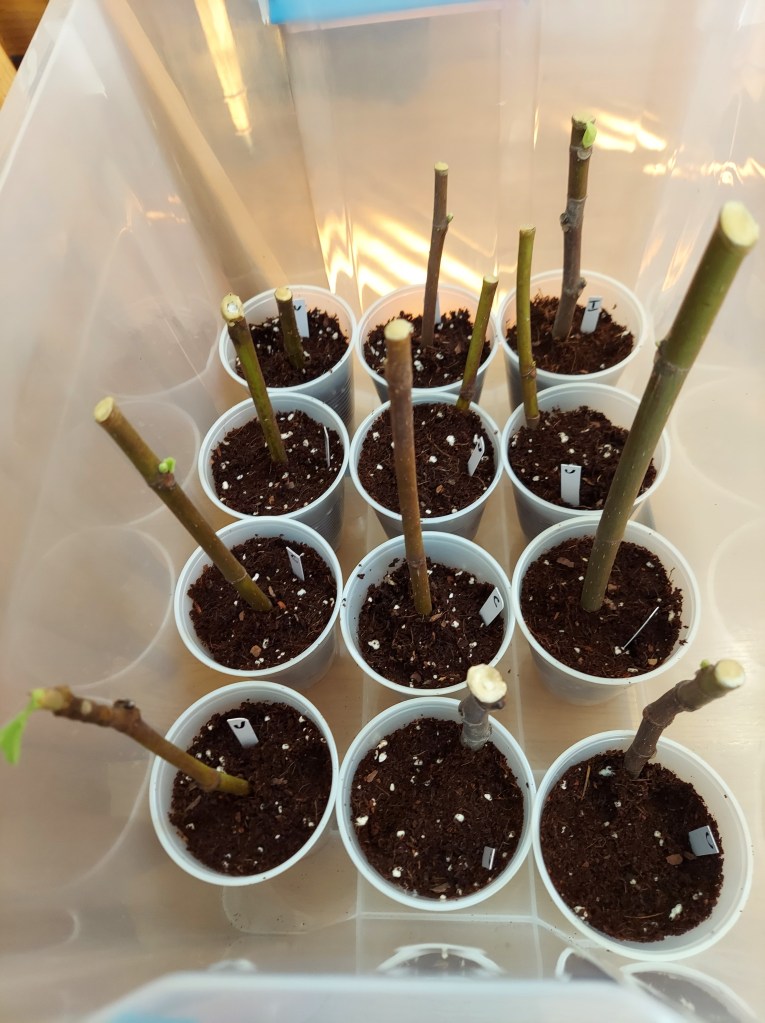
Before we began, I dug up and potted a bunch of perennial herbs that I wanted to save to replant into the bed. It was mostly lemon balm along with a couple of lavender, sage, and forget-me-nots. They all lived in pots for a couple of days before I decided on where I wanted to replant them. We protected the bed section by section, throwing the dirt from one to the next. When finished, we topped it off with several bags of new raised bed soil. As I planted into the bed each plant got a handful of homemade compost and a sprinkling of granular fertilizer in the hole.
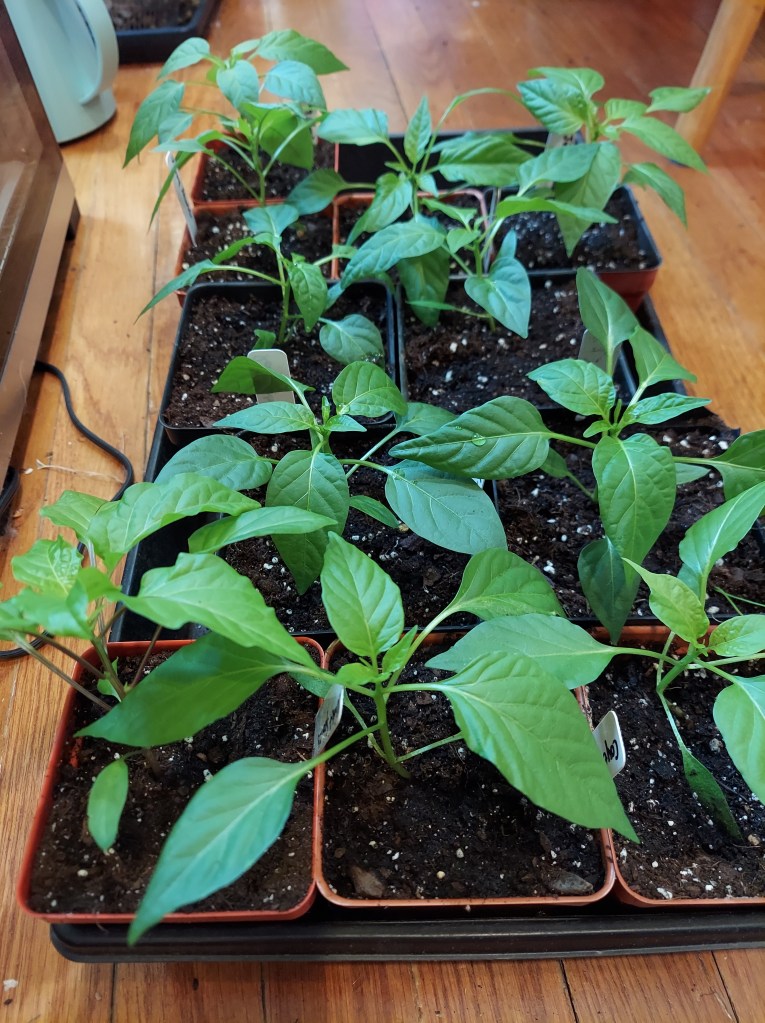
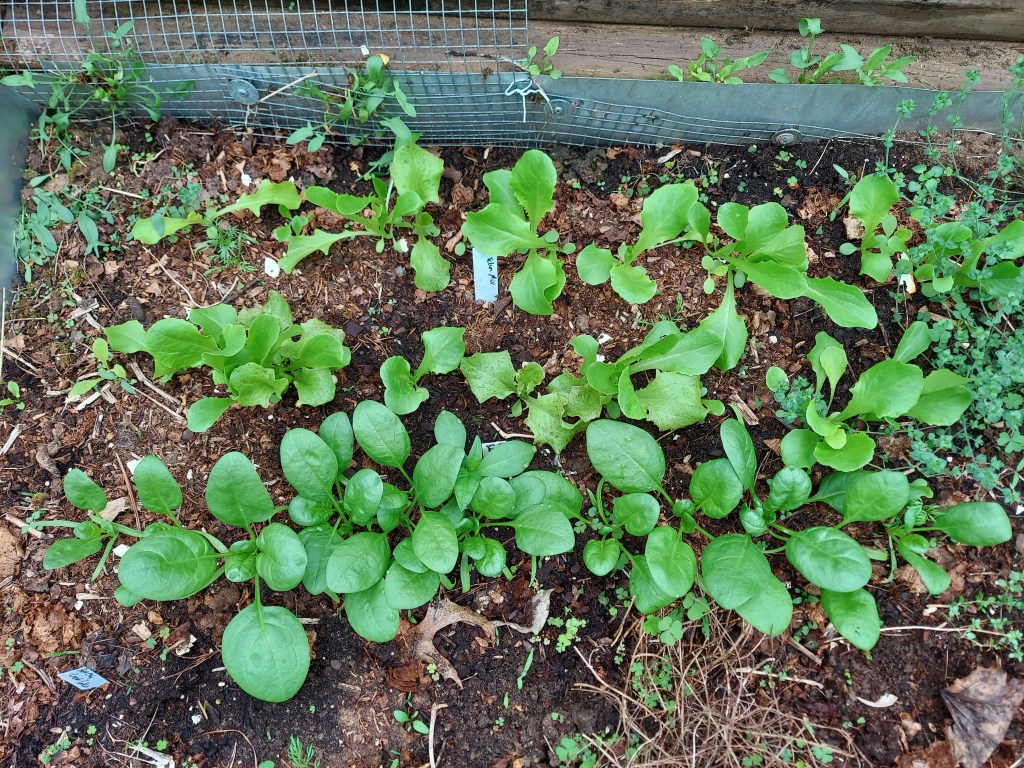
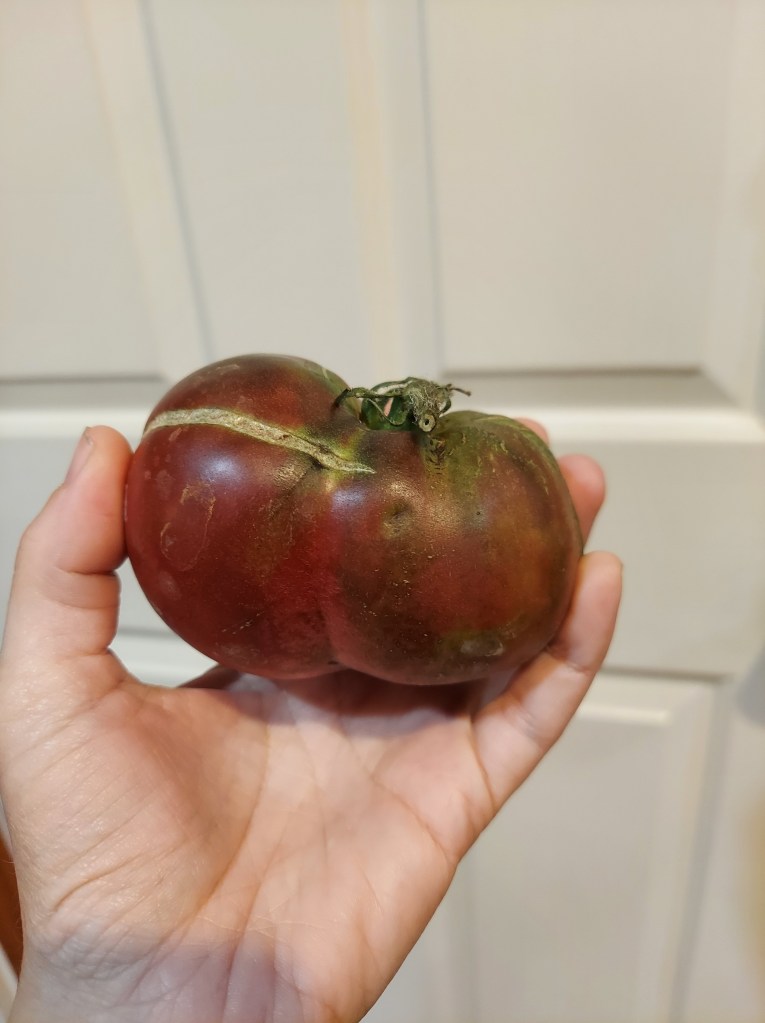
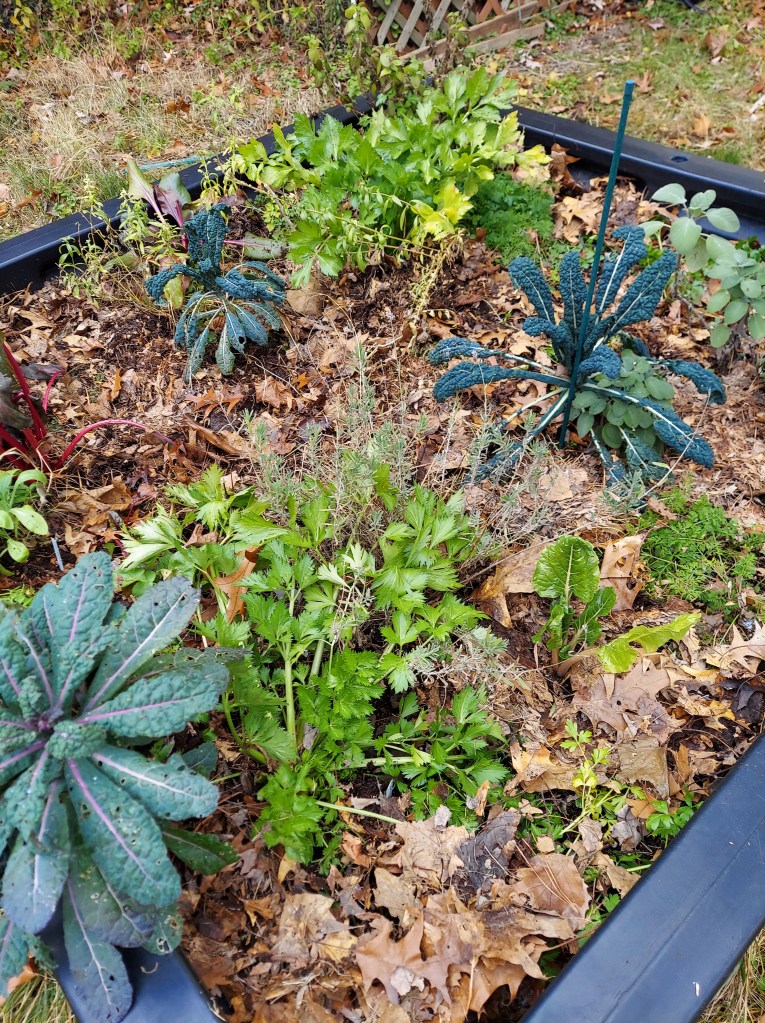
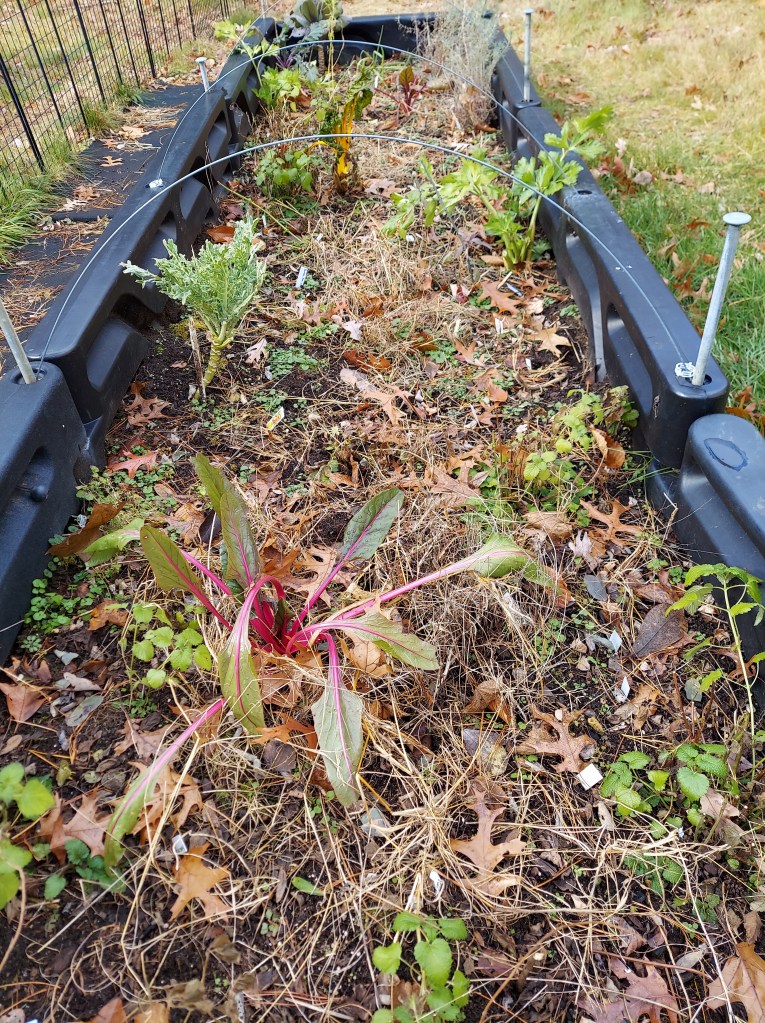
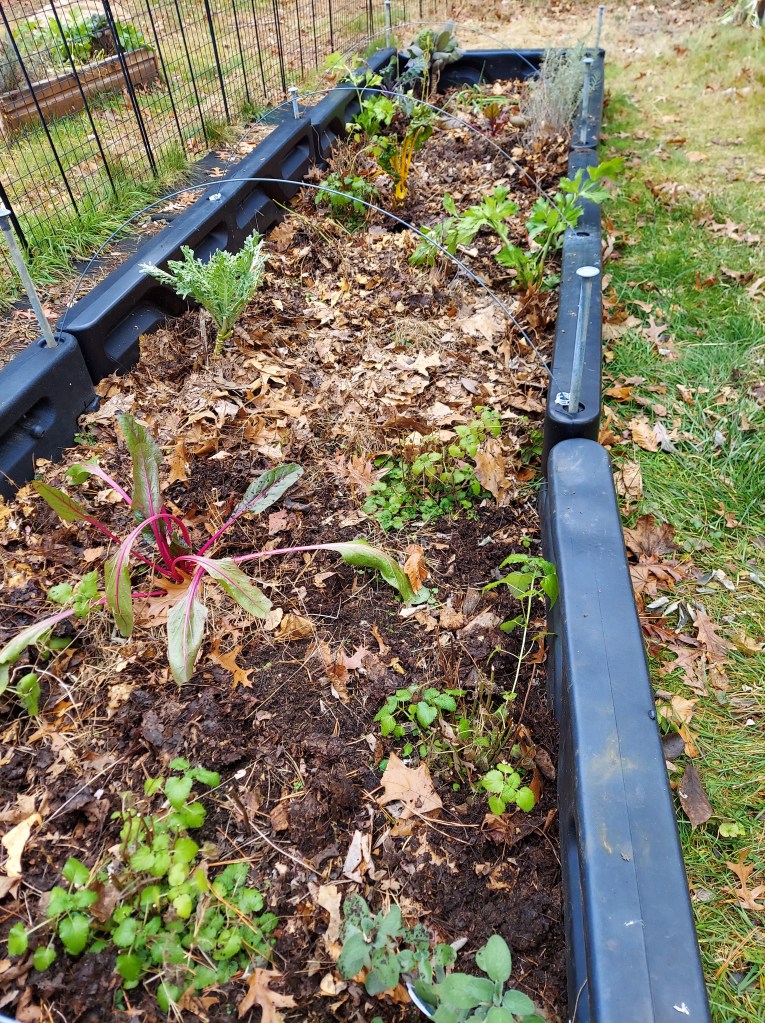
The big, long bed is now mostly filled in with a variety of plants including peppers, tomatoes, climbing beans, leeks, the perennials, flowers, chard, and kale. Took me several days to get everything in. I used shade cloth over part of the bed because we had a few very warm days and I didn’t want the seedlings to get burnt.

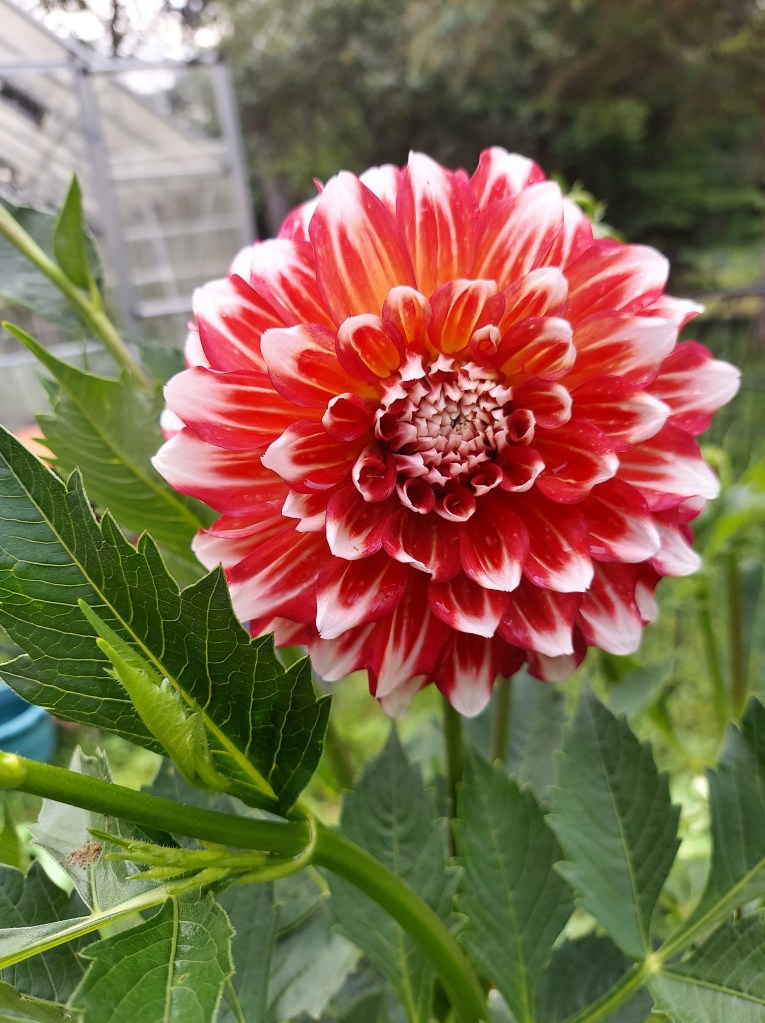
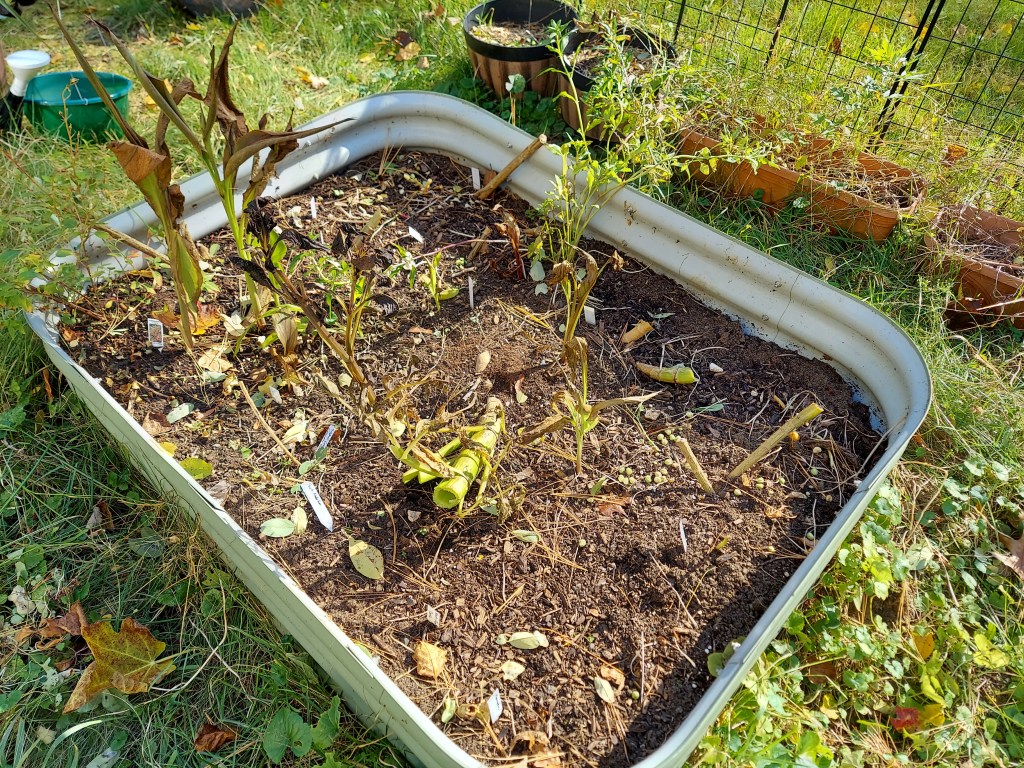
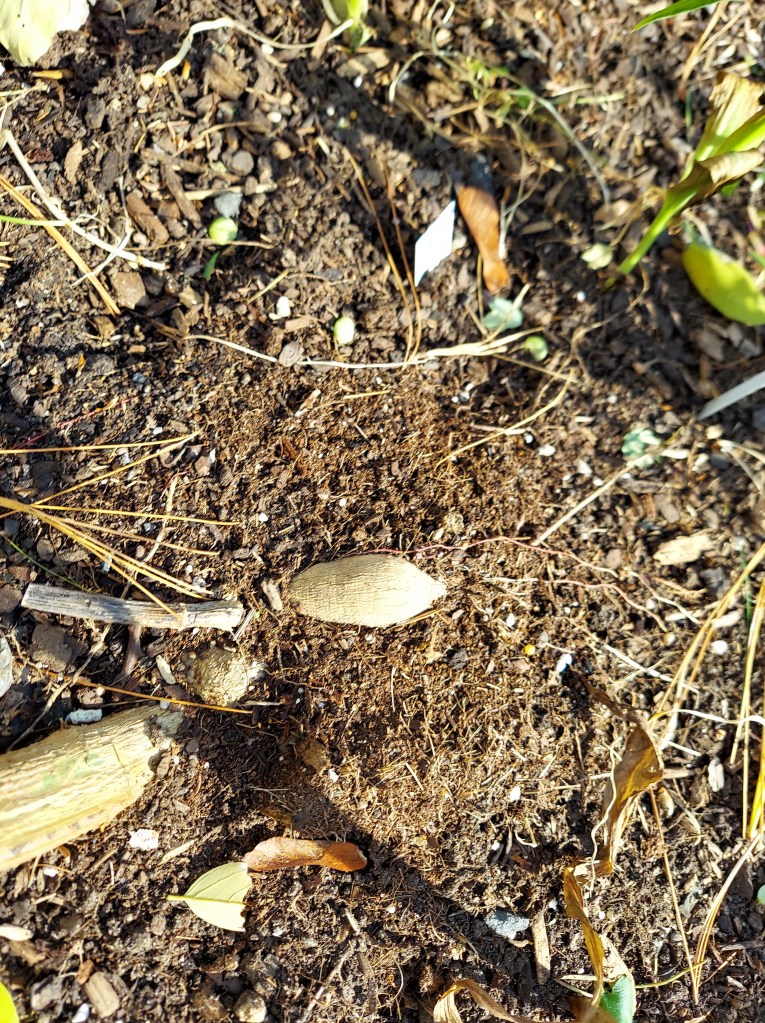
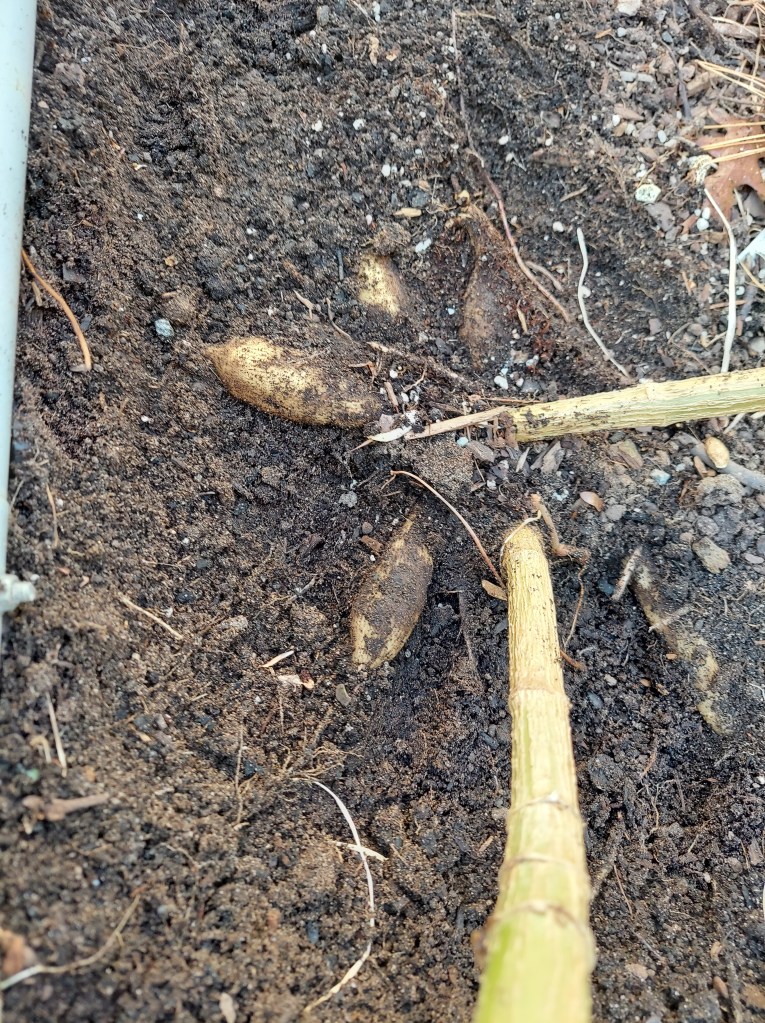
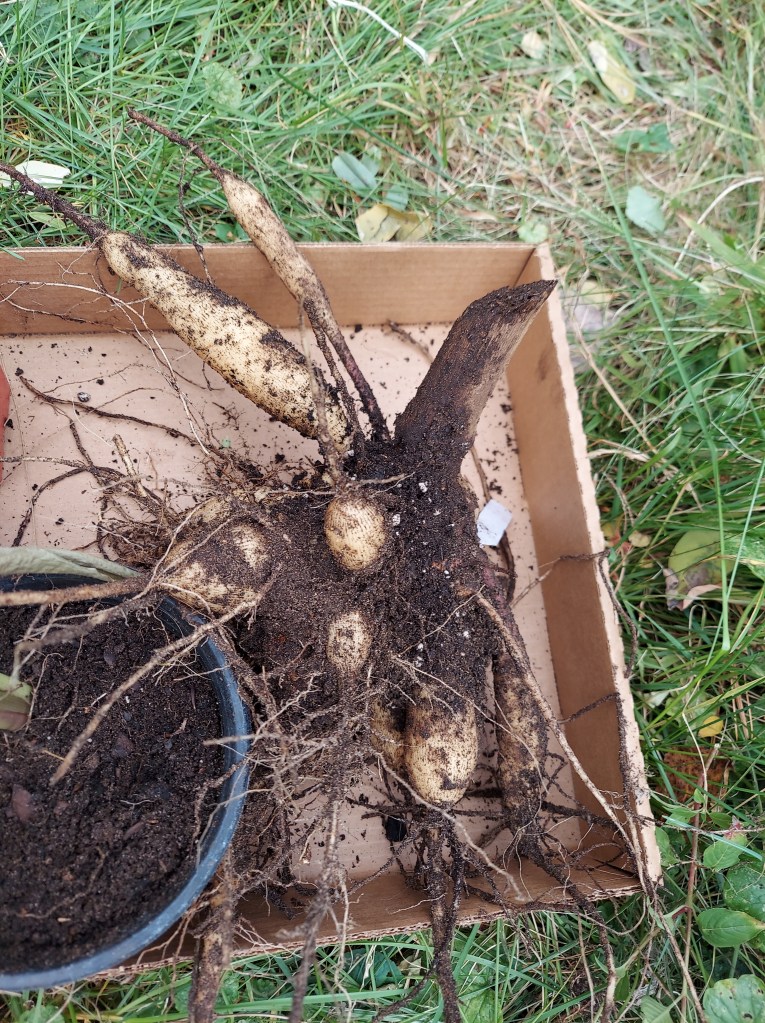
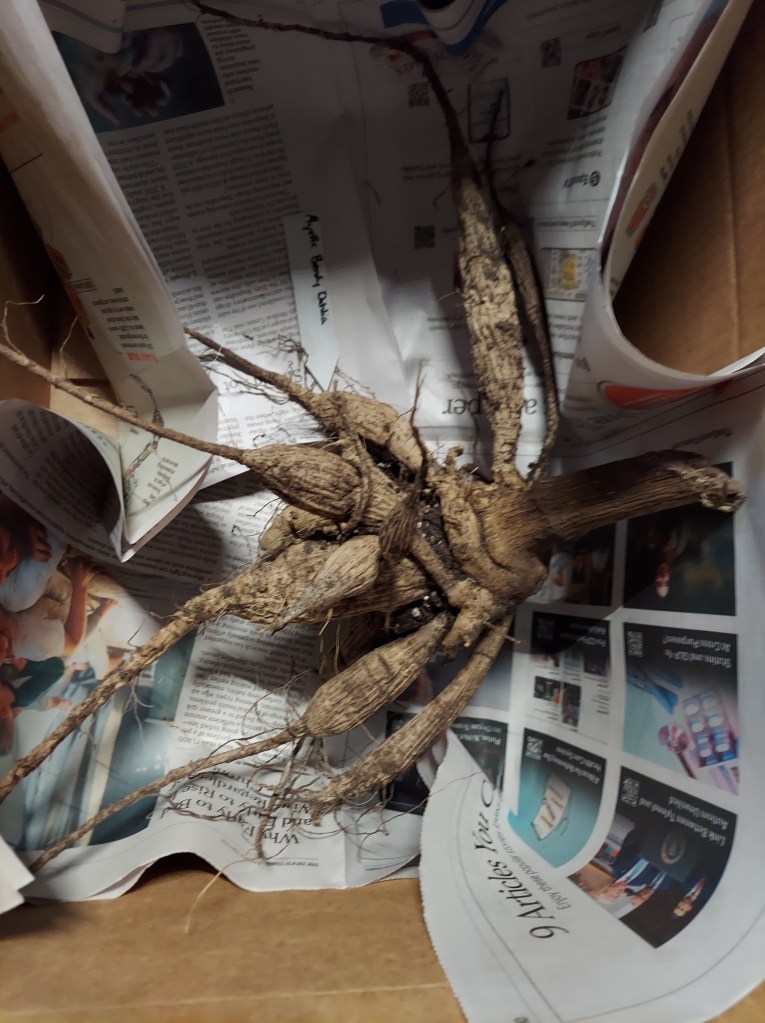
The dahlia bed is all planted out, from tubers I overwintered in the garage and then potted up in late April. I had about a 50% survival rate from the ones I dug up in the fall. There are 8 plants in the bed. I also direct sowed some nasturtiums and cosmos around the edge.
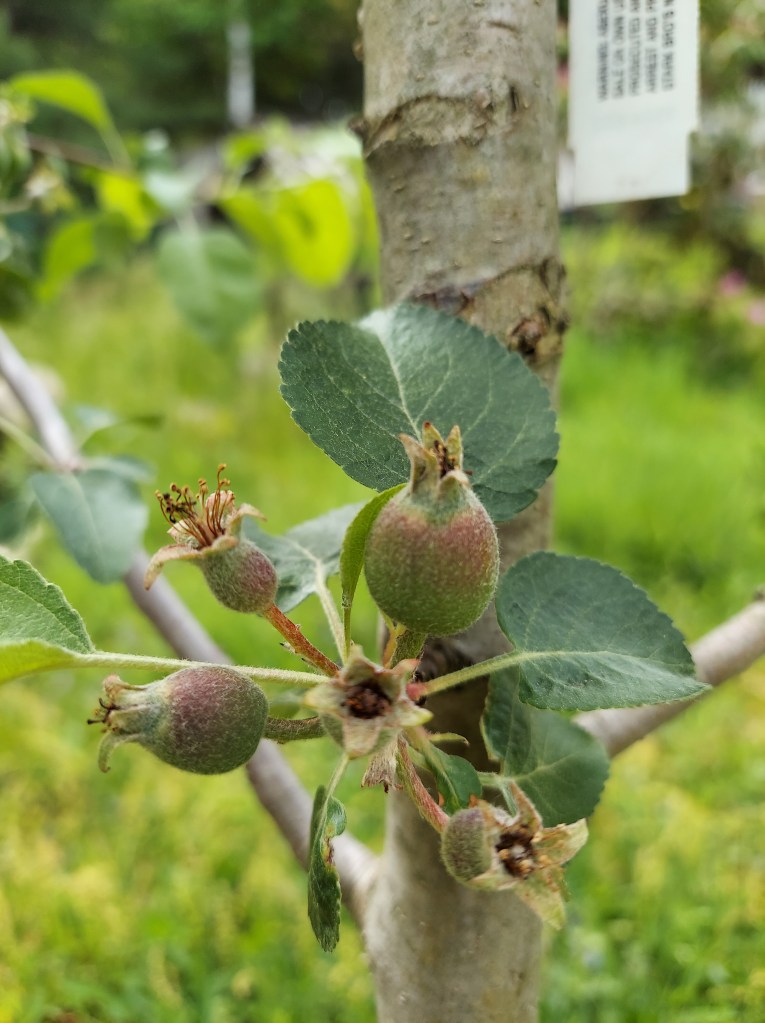
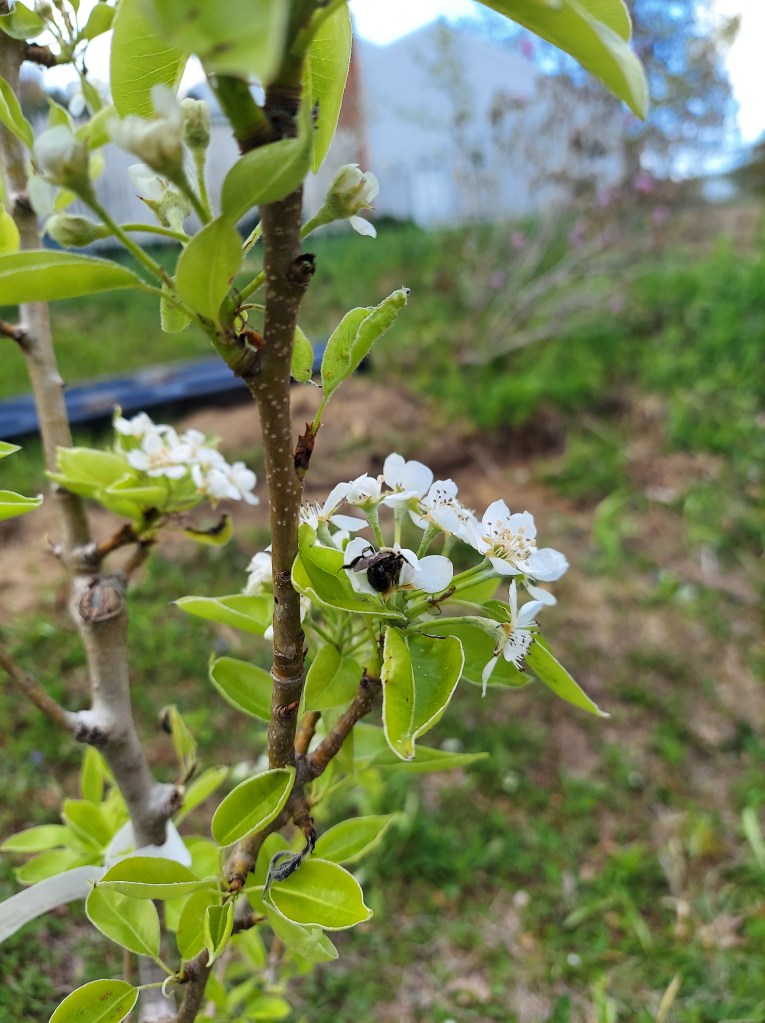
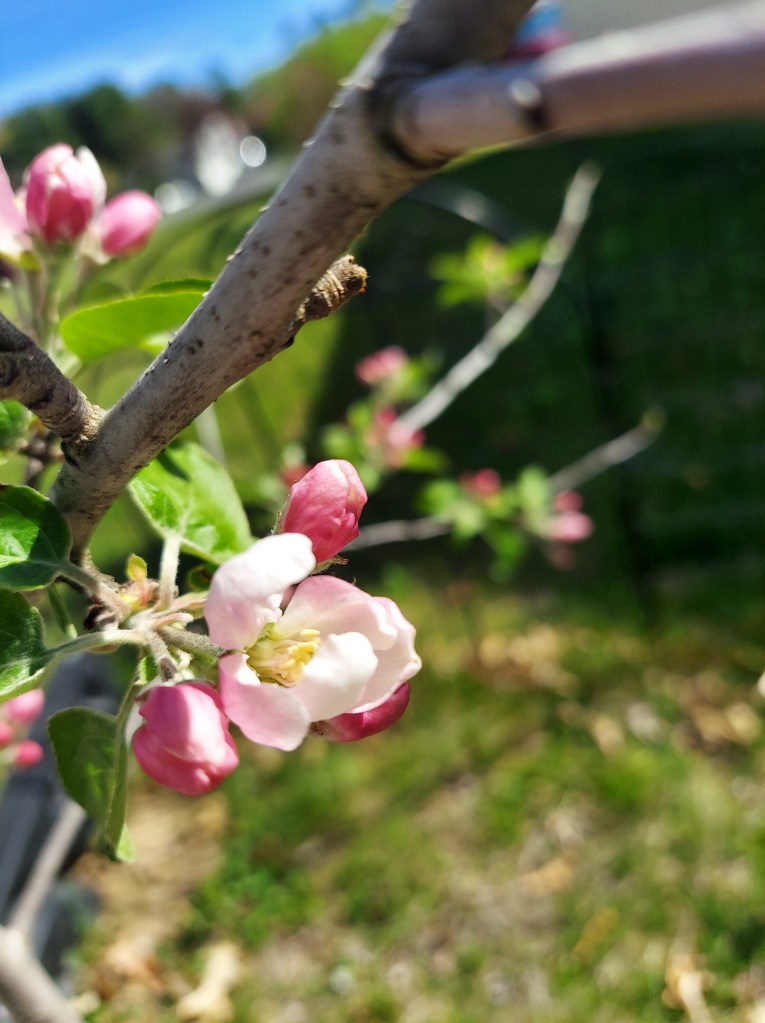
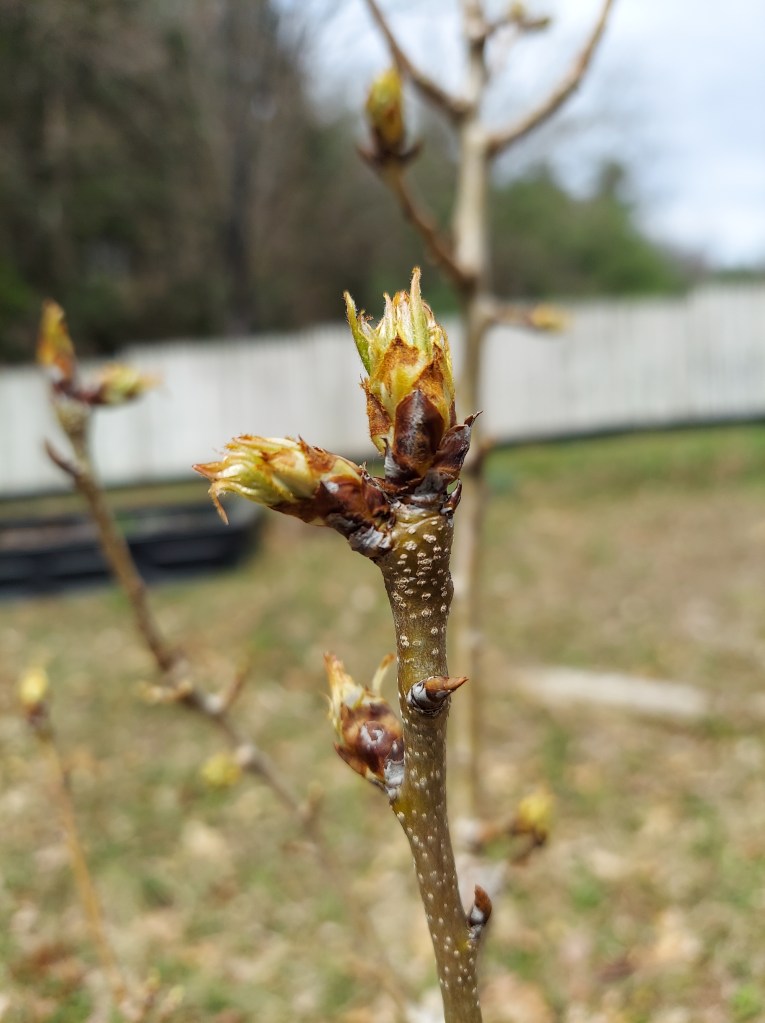
Two of the apple trees (Liberty and Cortland) are covered in tiny fruit. Sadly, no pears this year. I thinned the apples down to only one or two per cluster and will probably thin again in a month to the largest 5 or 6 per tree. These are young trees and I don’t want to get a bunch of small apples with minimal flavor. Last year I got 3 apples off this tree so I’m aiming for double that this year.

Early season flowers, these snowball bushes (viburnum) were 25 cents at the end of the season. All three survived and are currently blooming.
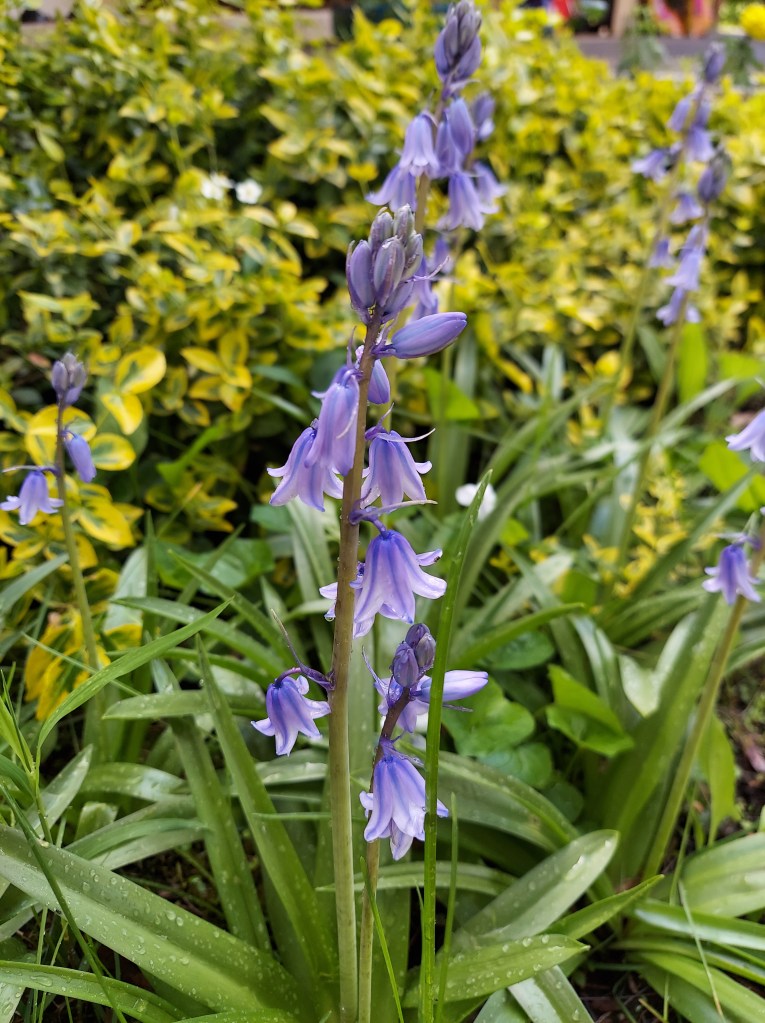
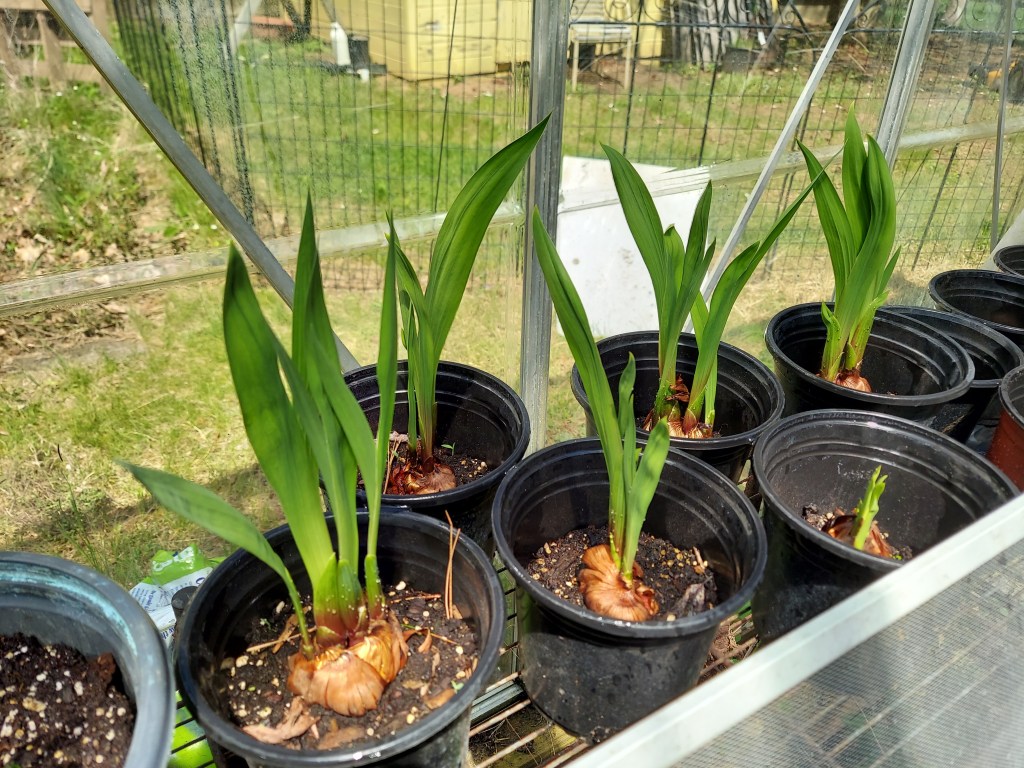
The wood hyacinths were very pretty at the end of May, all of them were blooming in the front of the house.
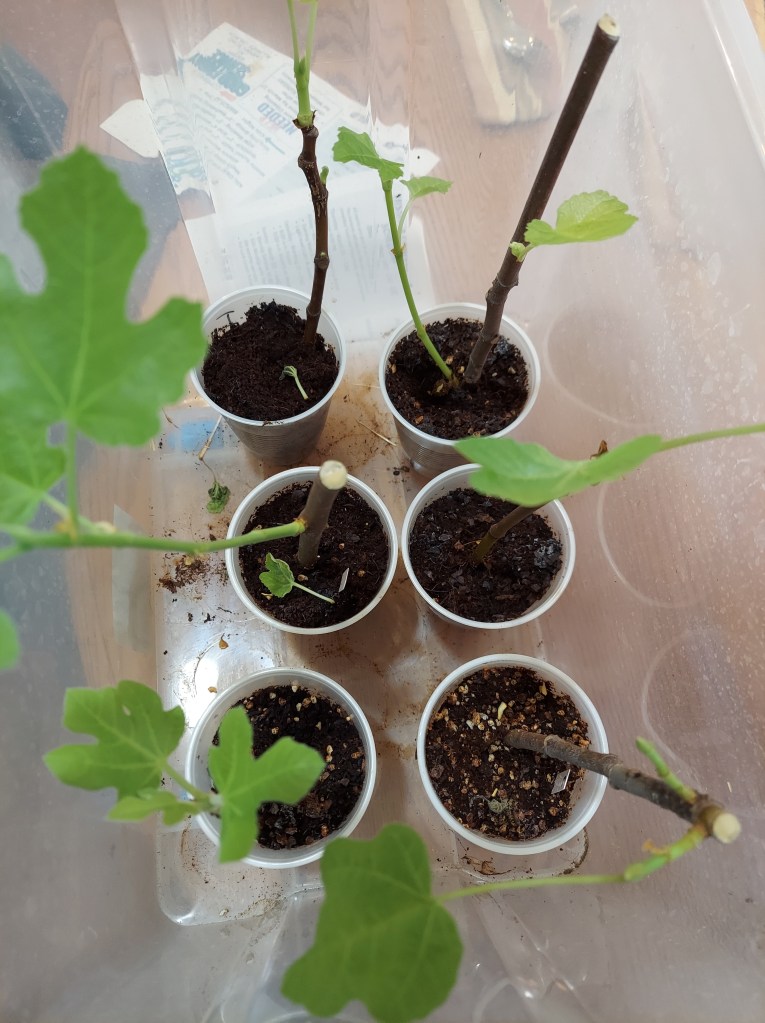
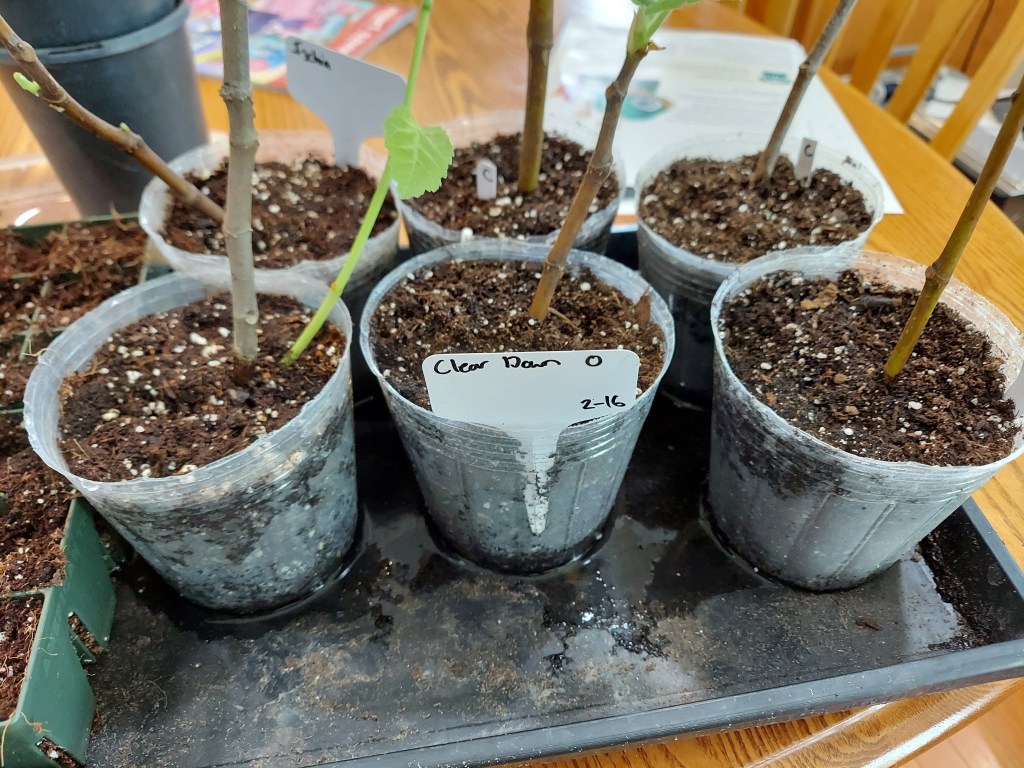
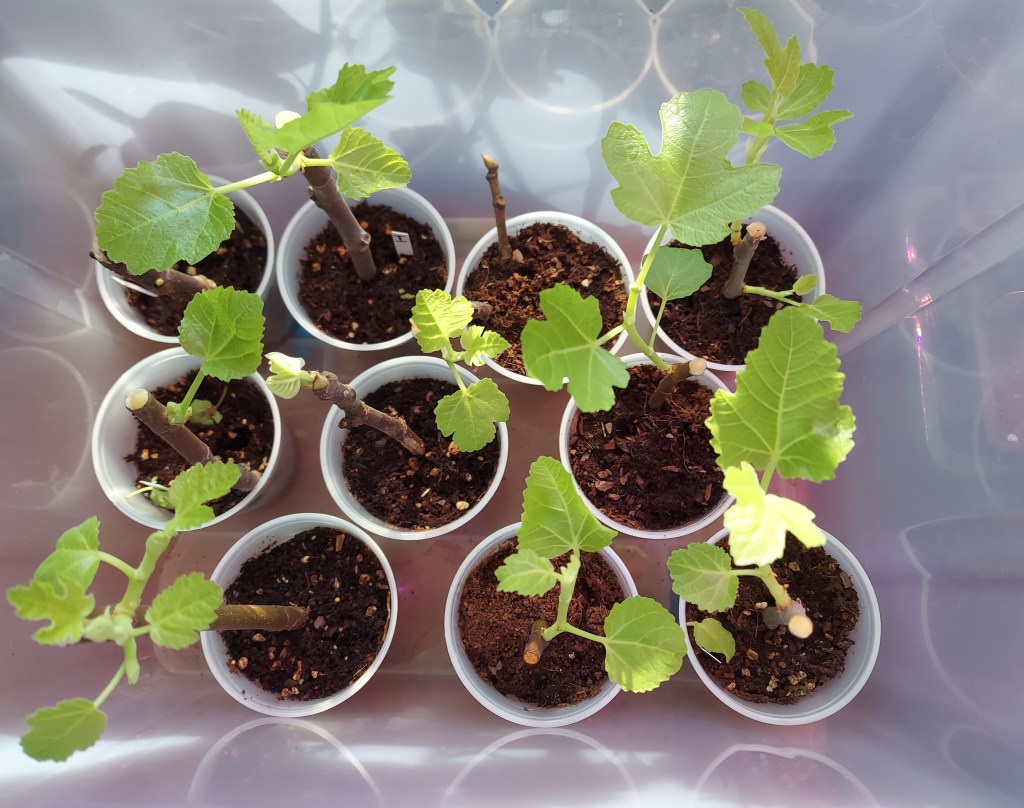
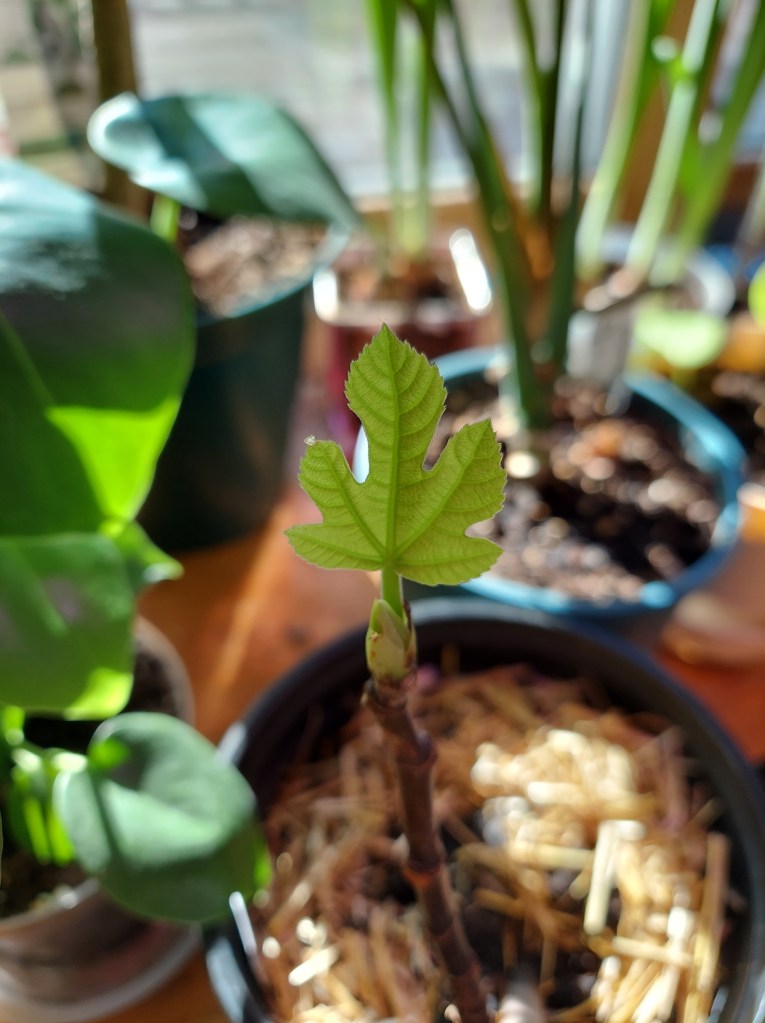
The figs have all been moved out of the basement and are on the back patio. The sun shade has been re-built so that they can adjust to the outdoors. At least two of the trees are working on figs, which is great. A couple of the leggier trees received a trim in the hopes of bringing them back into a more compact size.

My largest poppy plant is also blooming. It’s working on 5 different flower heads, 2 of which have opened. Not sure if the other ones will flower this year, but they have all grown larger than last year.
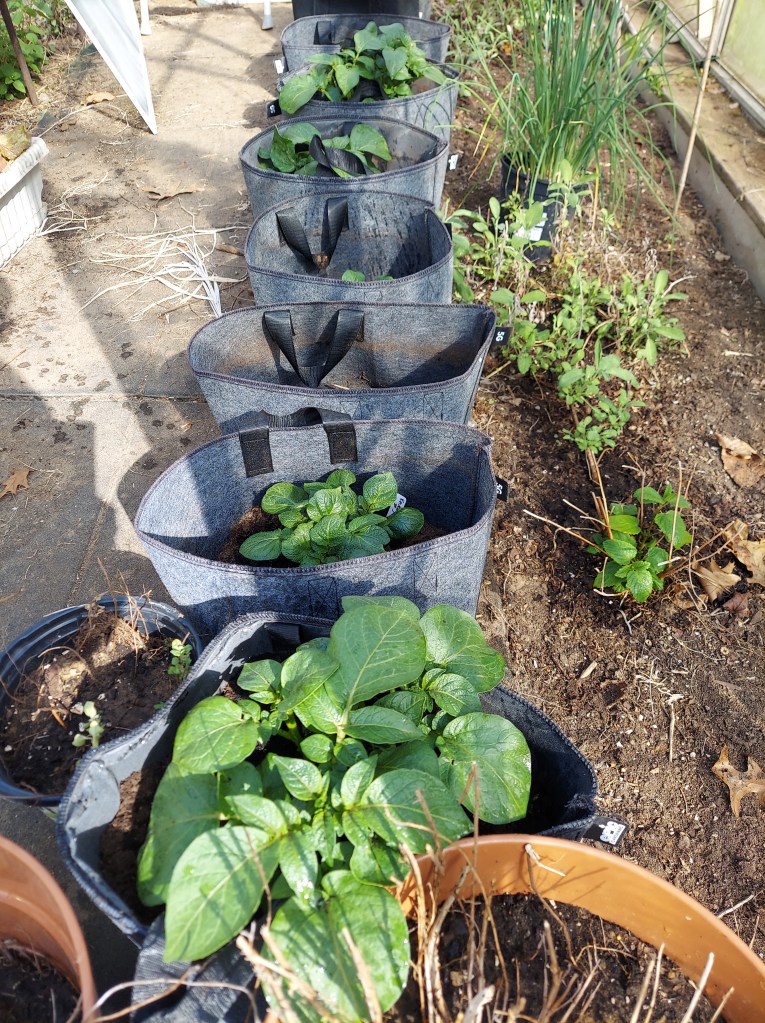
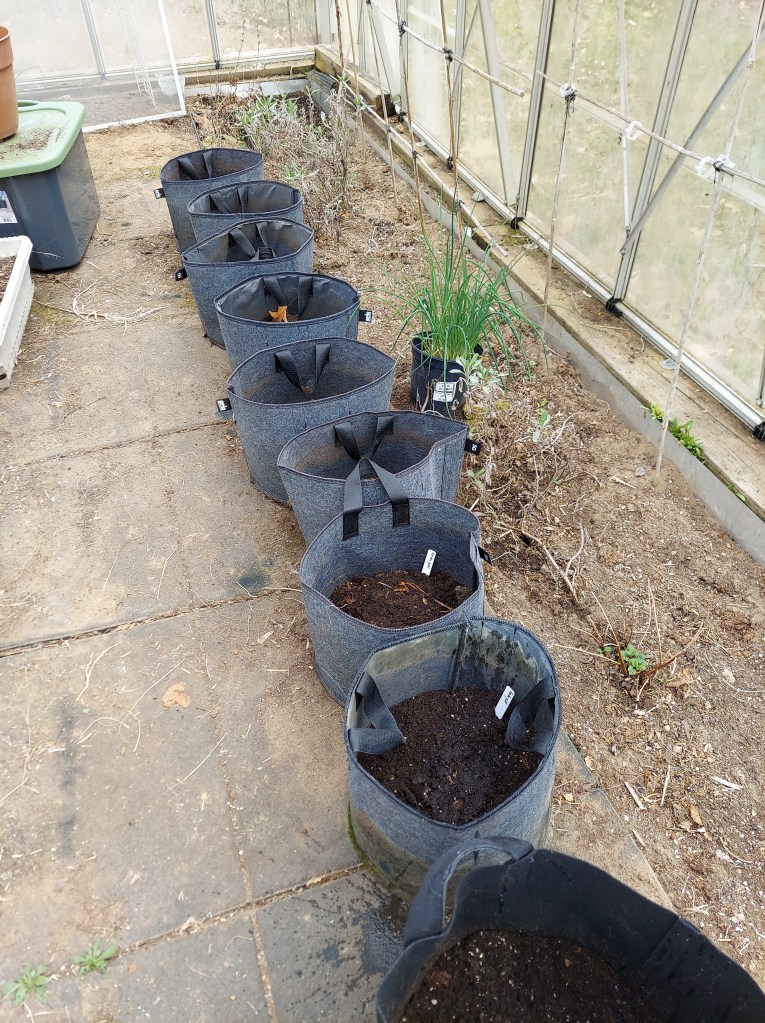
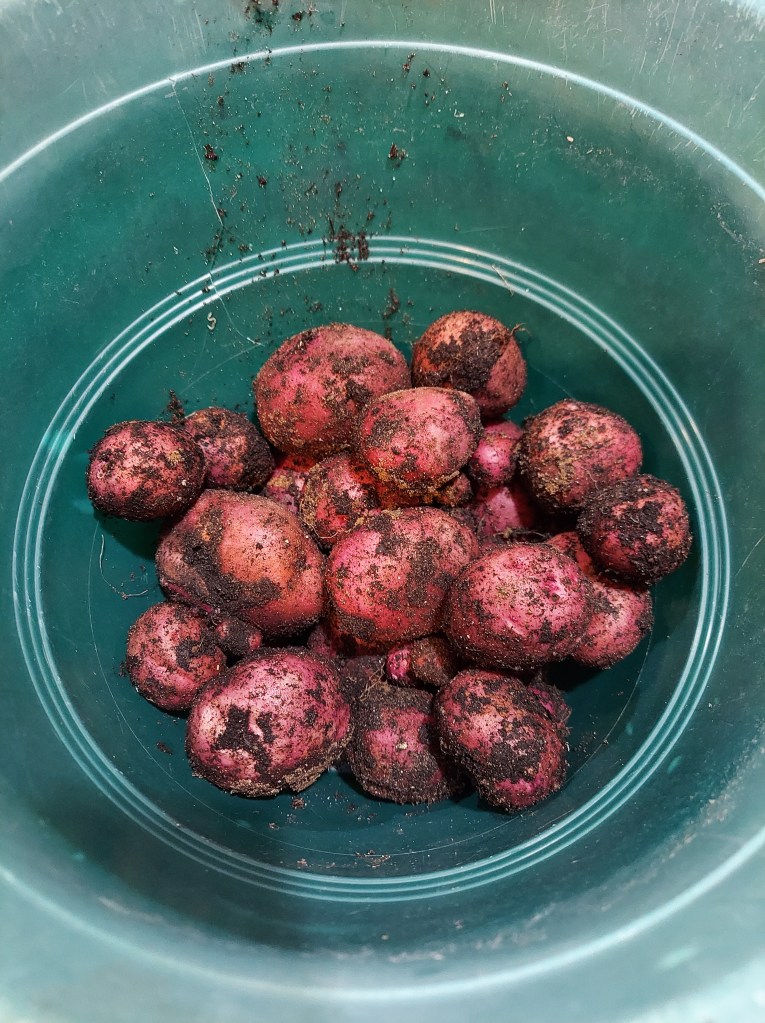
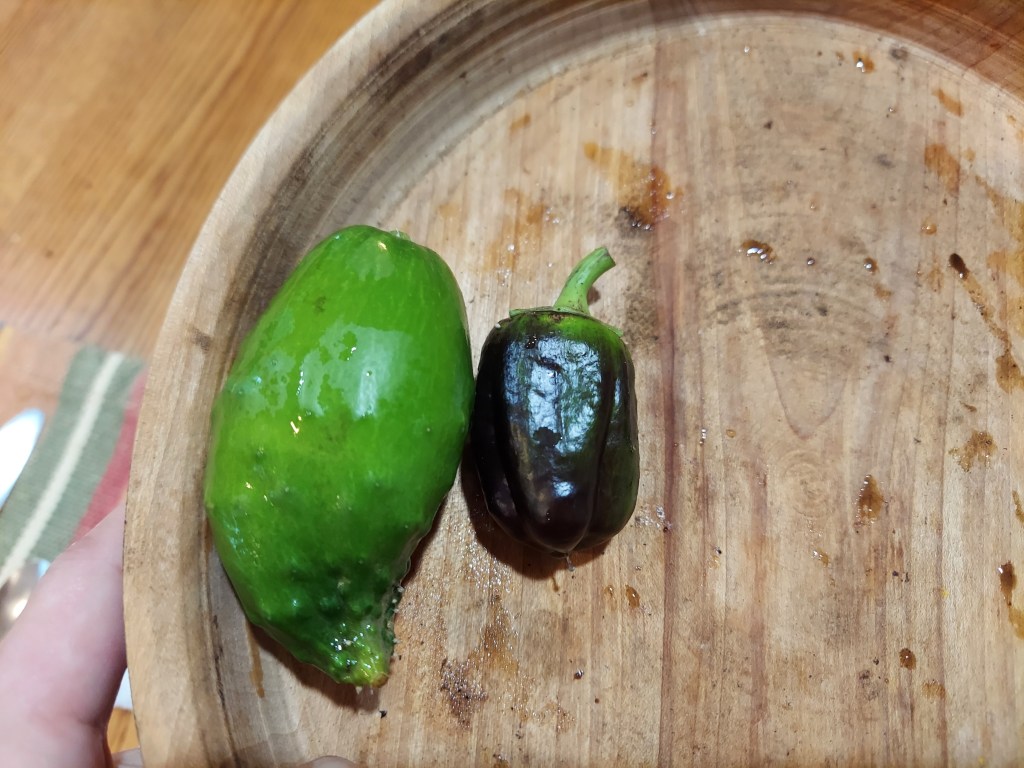
The grow bag potatoes are coming along quite well, and the first set of flowers have appeared. Can’t wait to harvest some home grow spuds. The in-ground growing space in the greenhouse is pretty full. My earliest tomatoes and peppers are there, along with a few flowers and herbs. I’ve spotted my first jalapeno pepper and the first tomato flowers are developing on the largest plant.
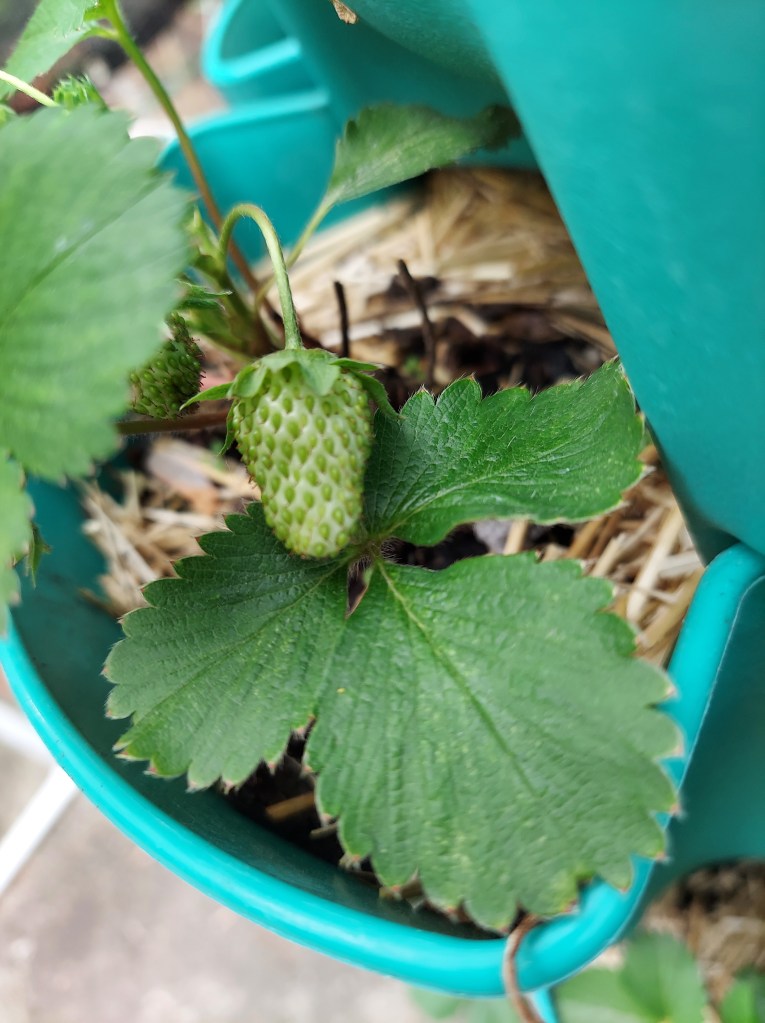
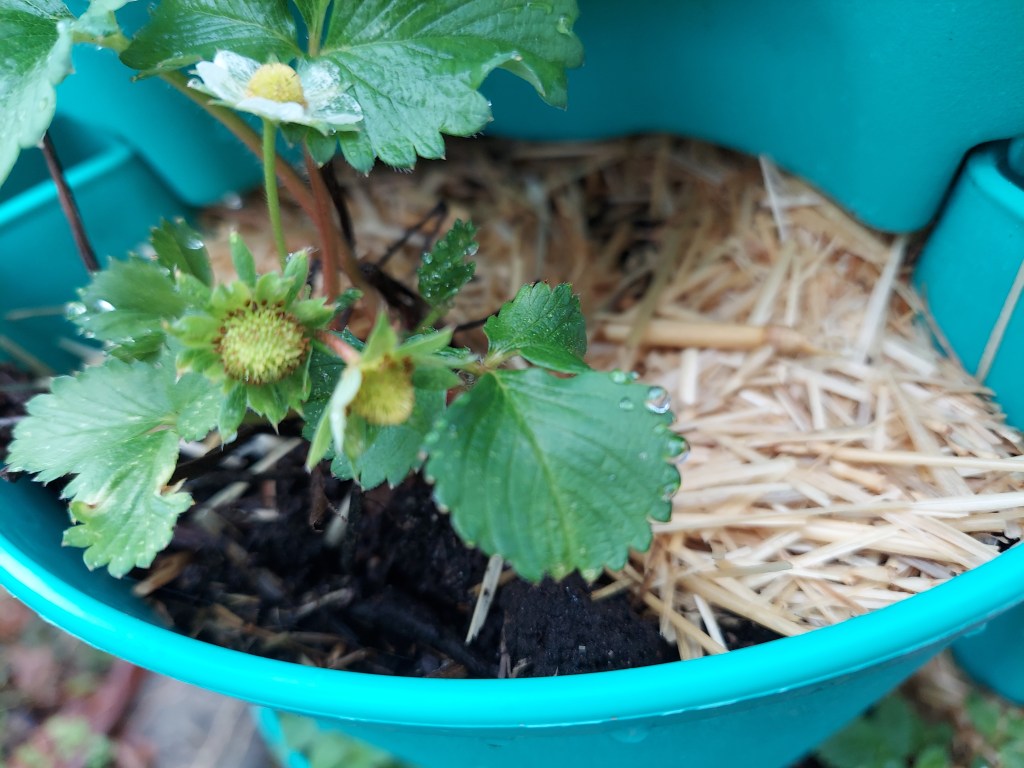
The first tiny strawberries are growing on the plants in my Greenstalk tower. It’s only been outside for a few weeks, and I had to replace several plants that didn’t survive the winter. The next batch of fruit should be larger, now that the plants have settled in.
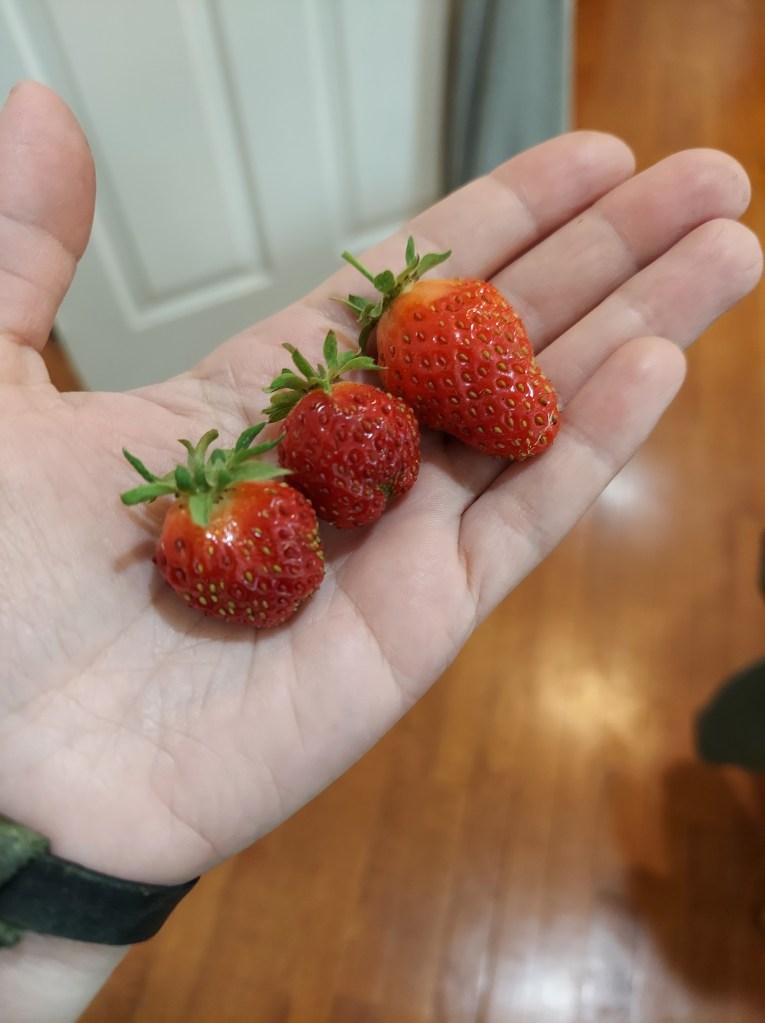
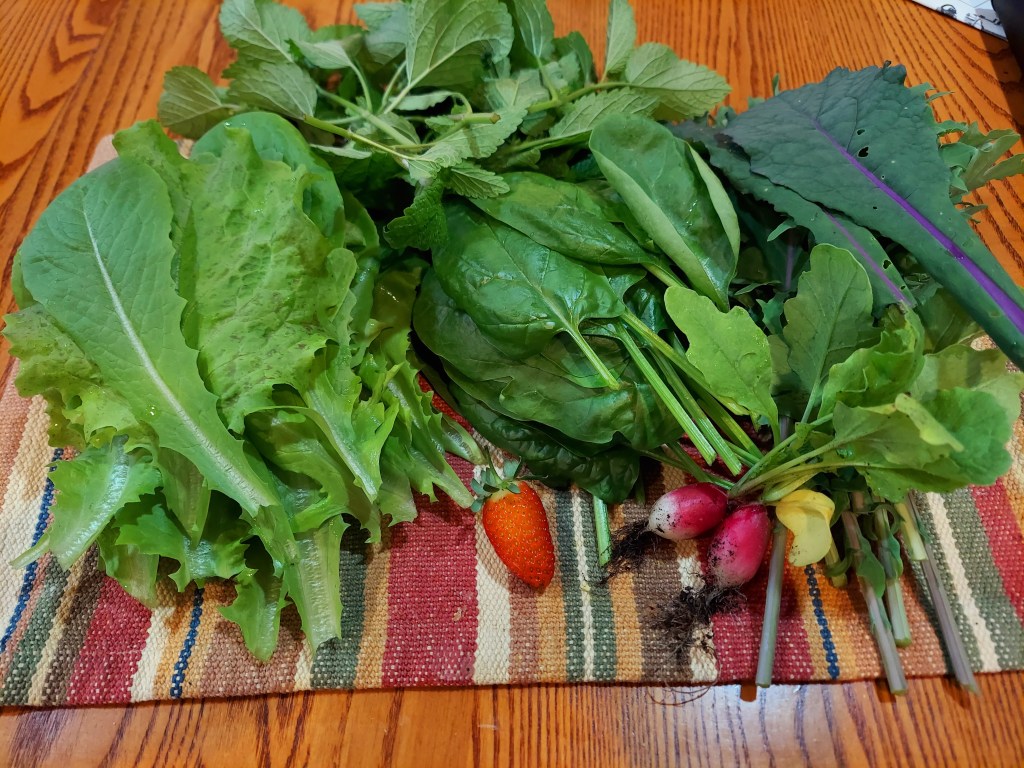
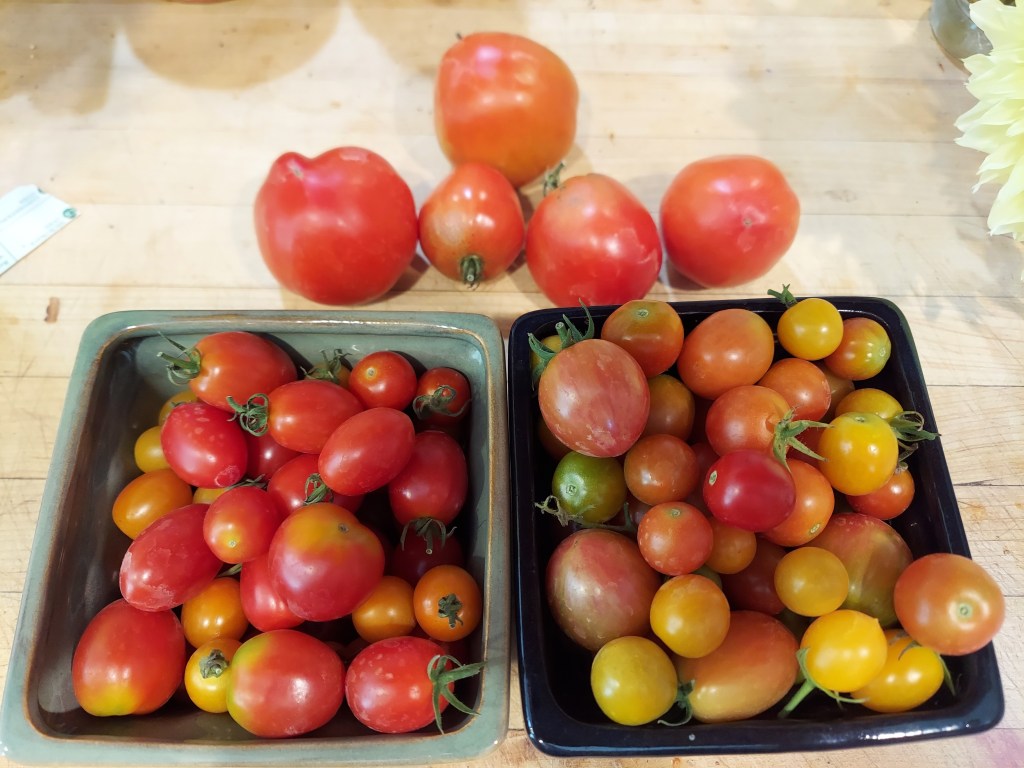
These were the first ones to ripen, tiny but very sweet. Looking forward to more to come over the summer.
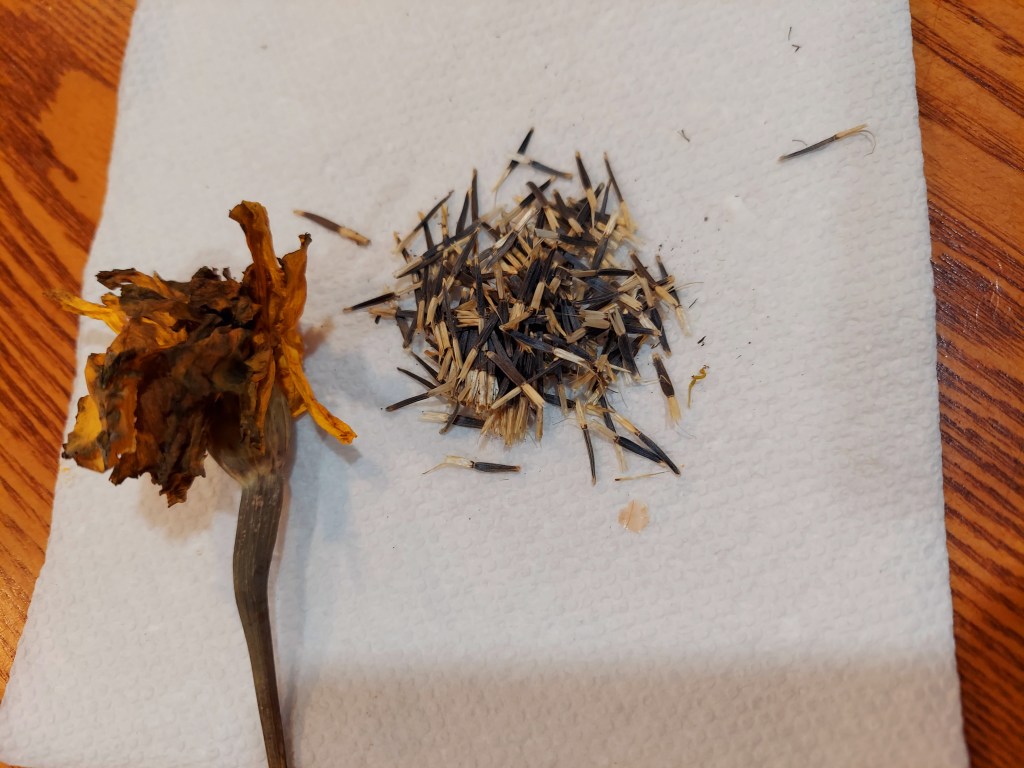
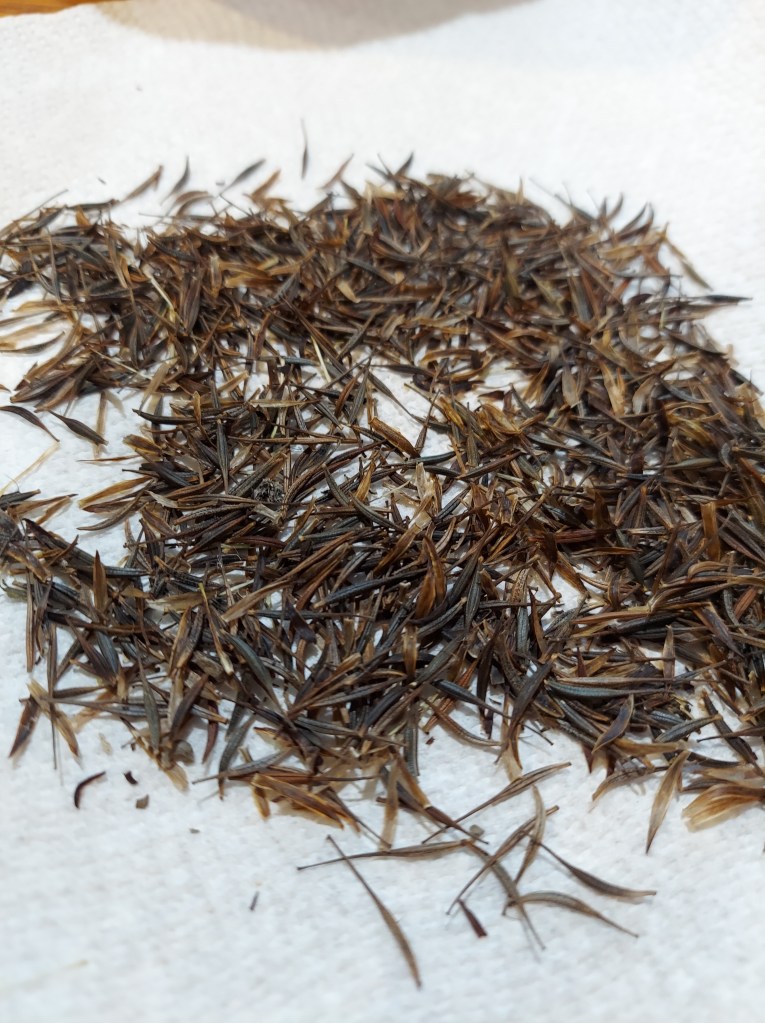
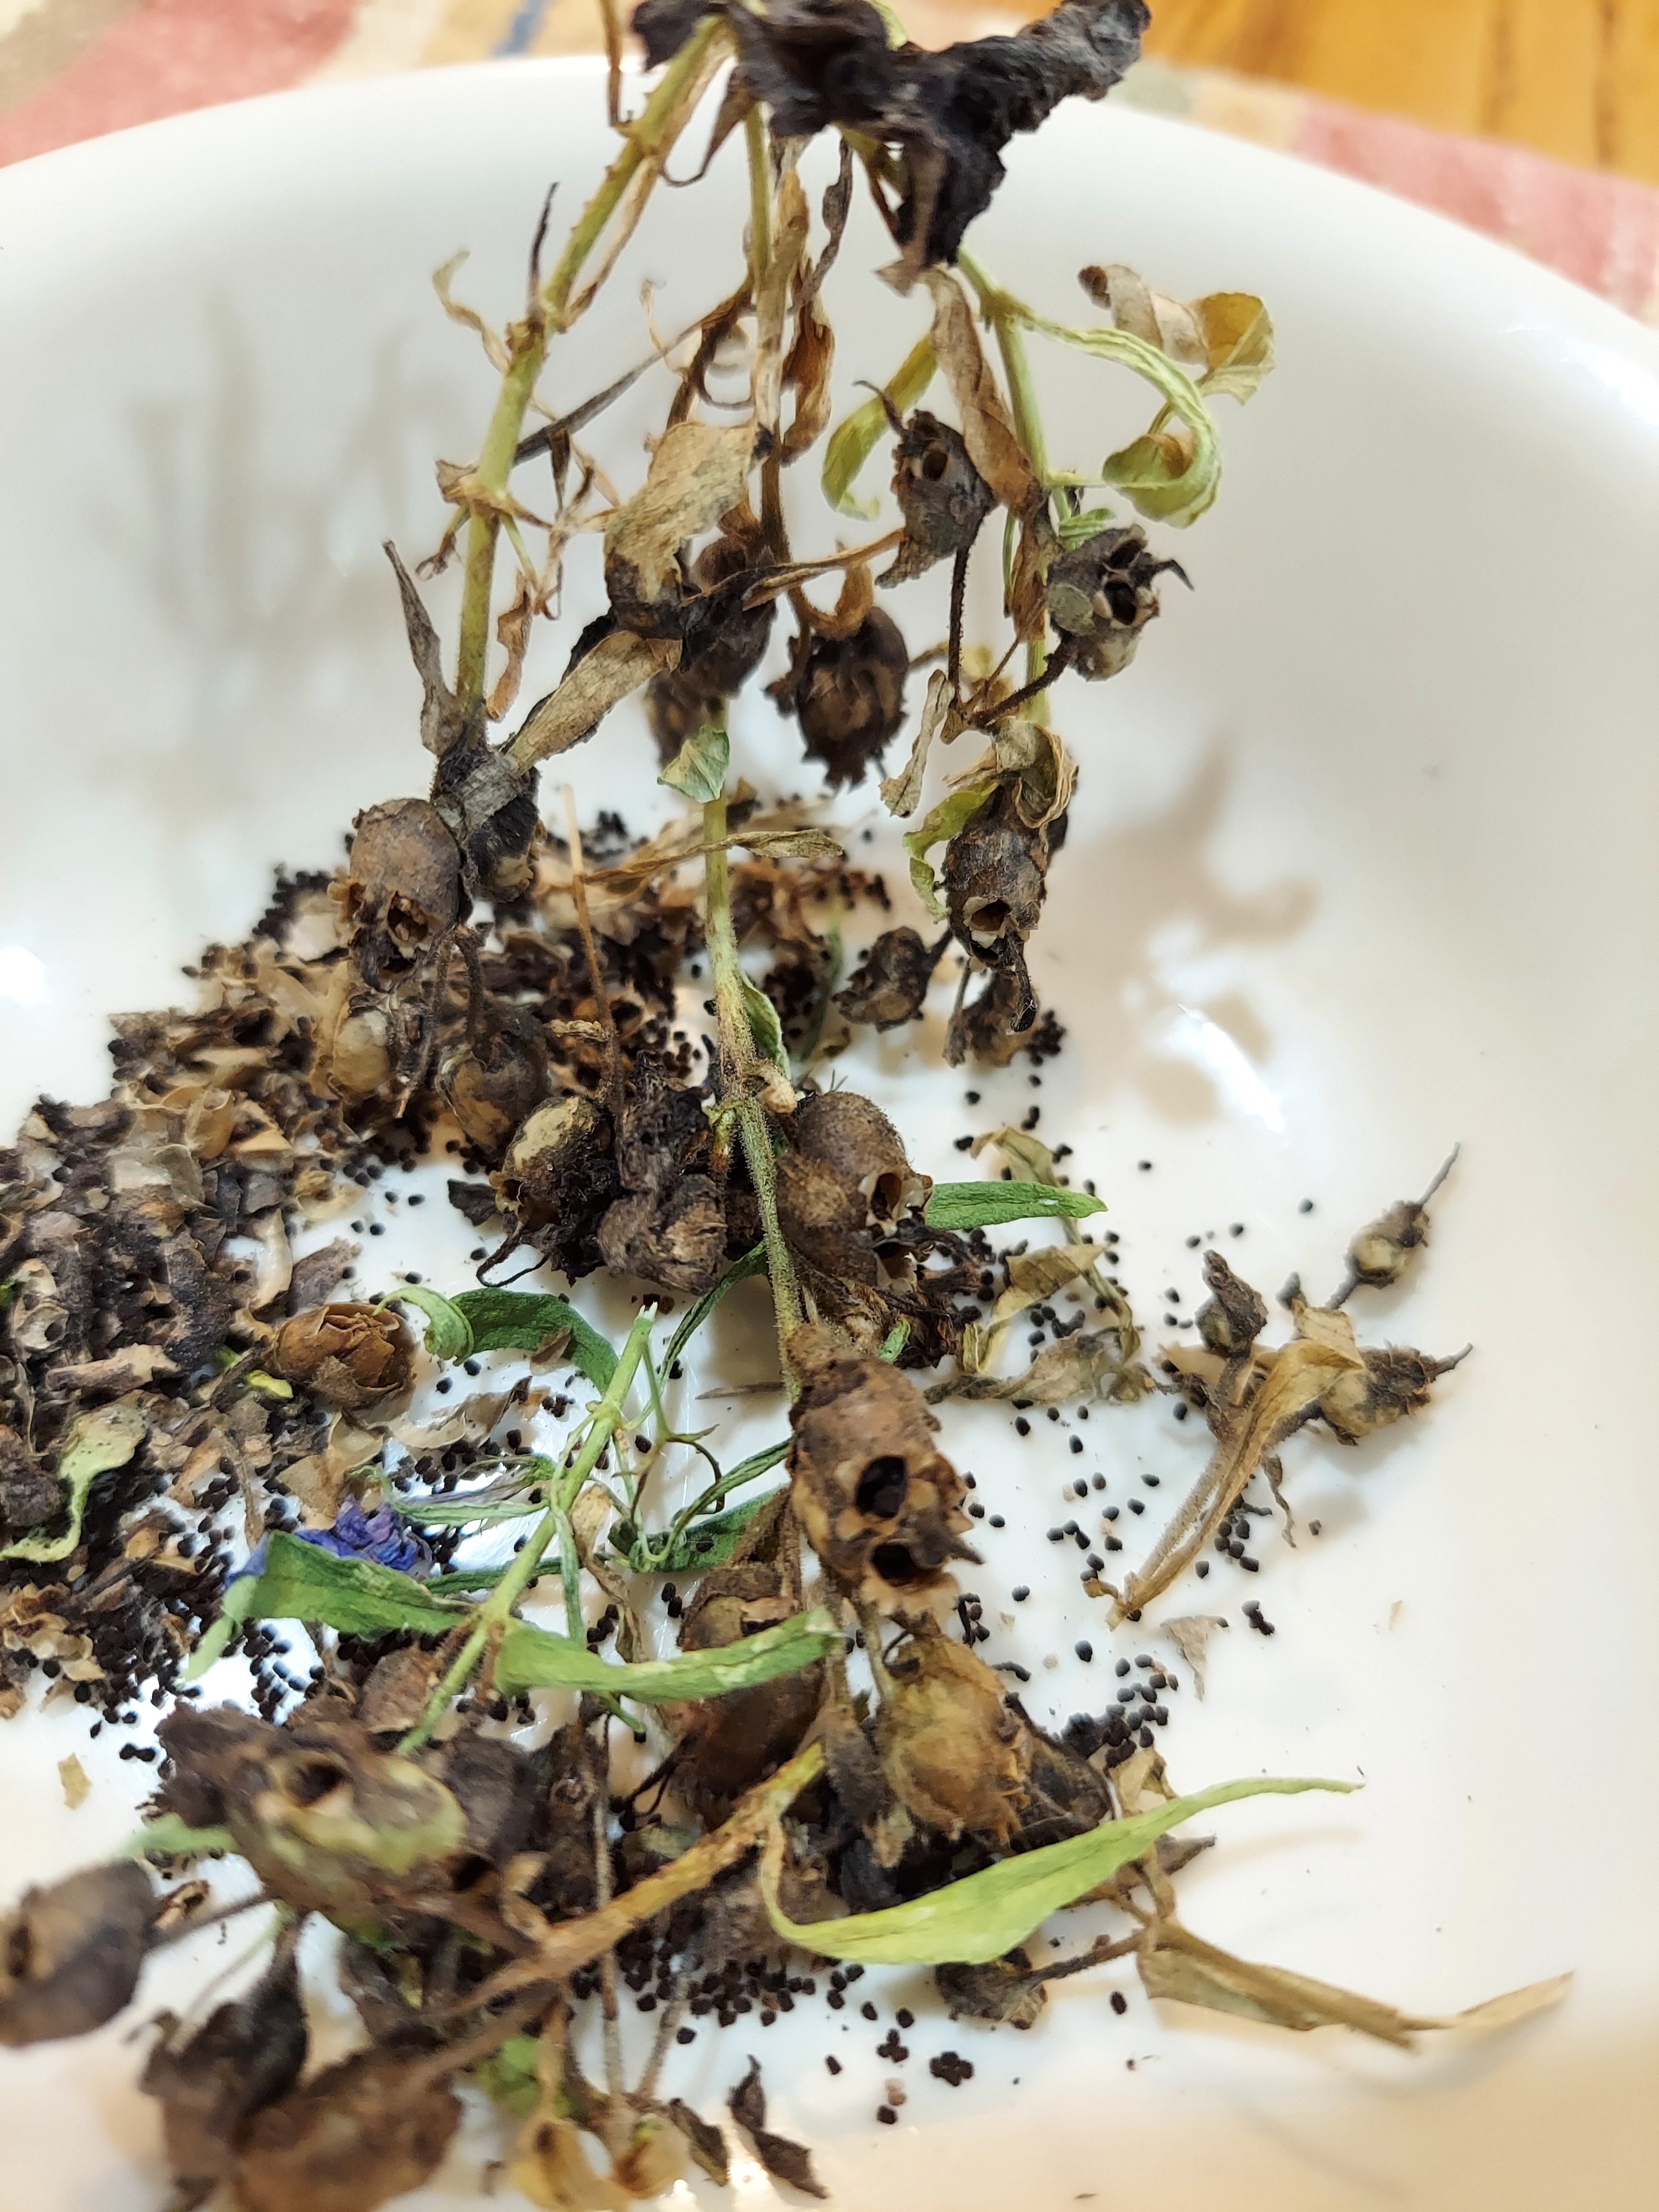
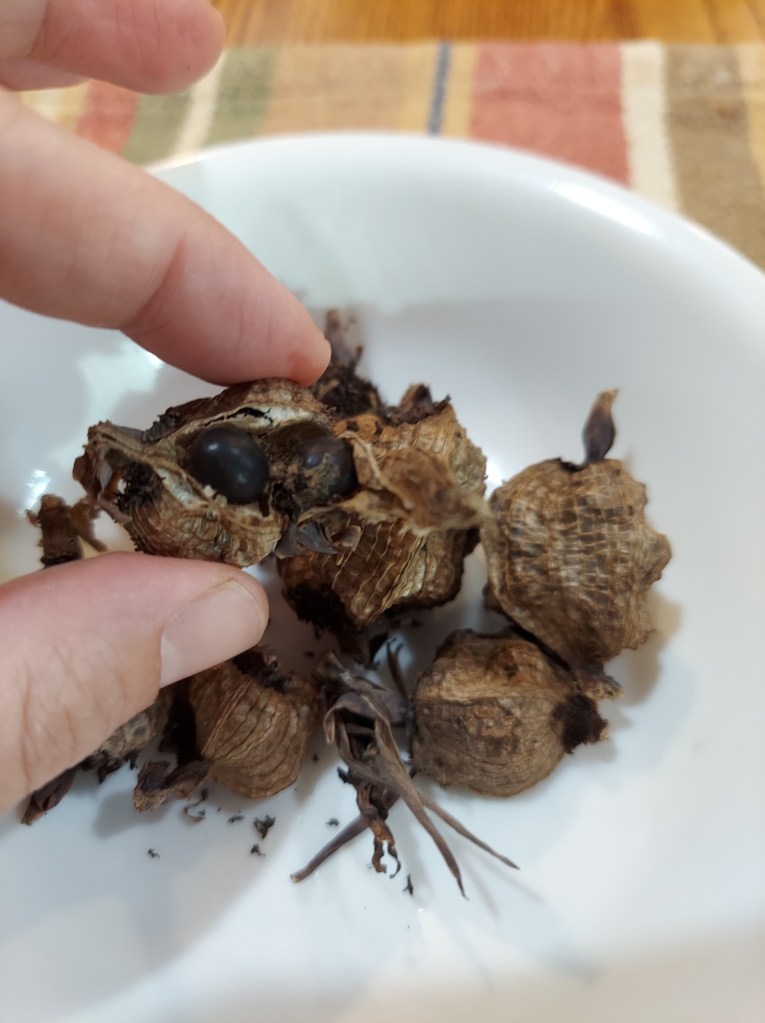
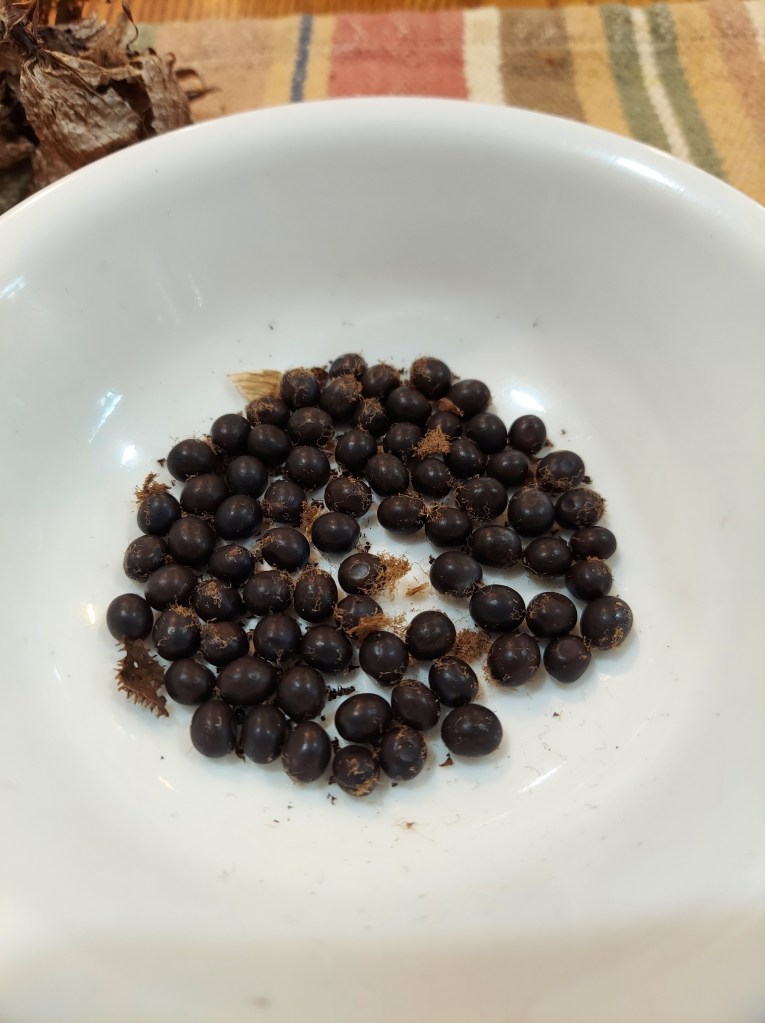
I haven’t noticed as many self-sown plants as some years, but we had a very cold winter. There are a couple of random chamomile, when normally one whole bed is filled with them early on in the season. I did get several borage, and I have transplanted a few of them to other spots. Borage is great for the pollinators, I have seeds but rarely need to start it that way since it makes prolific flowers and drops seeds on its own.
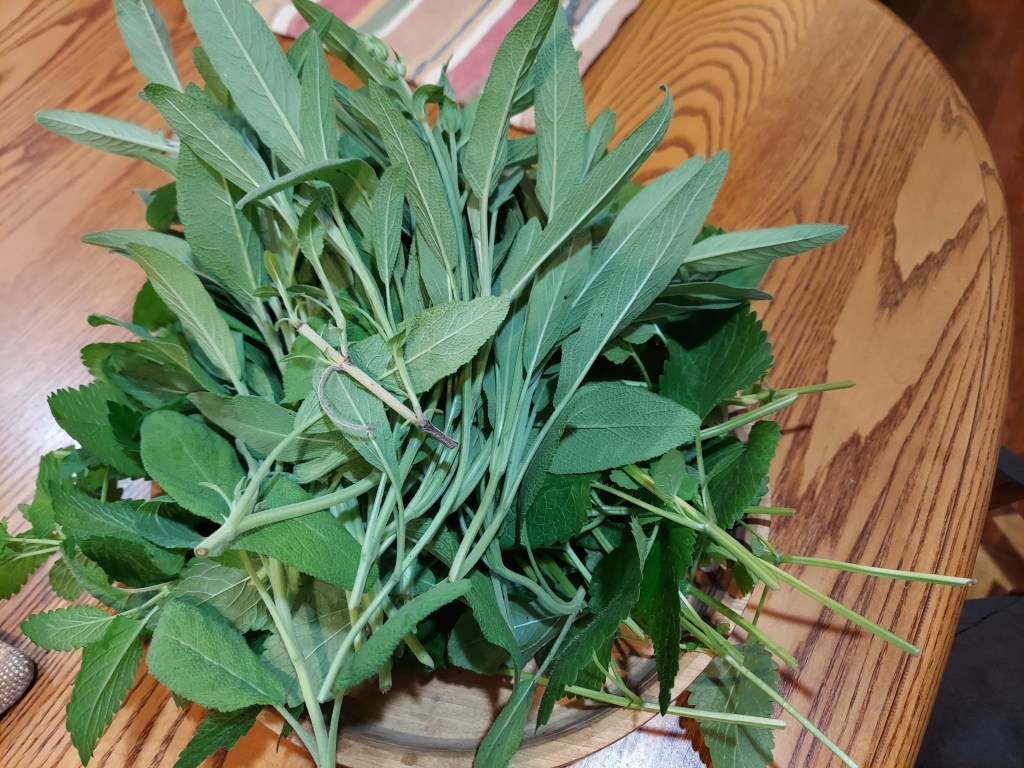
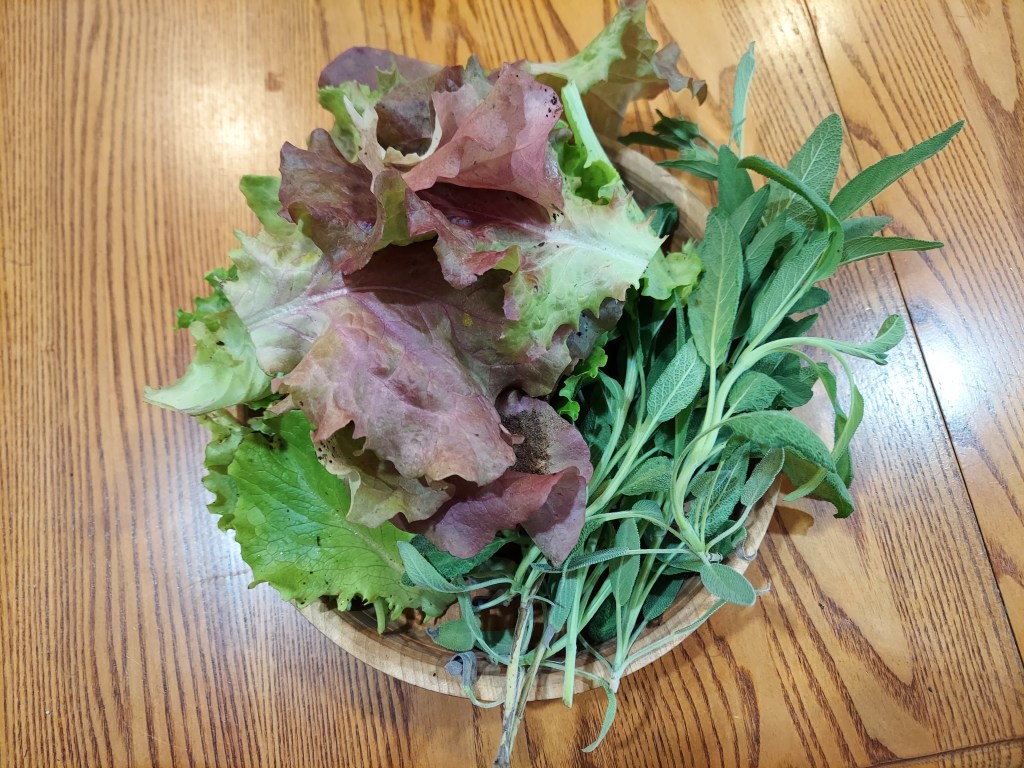
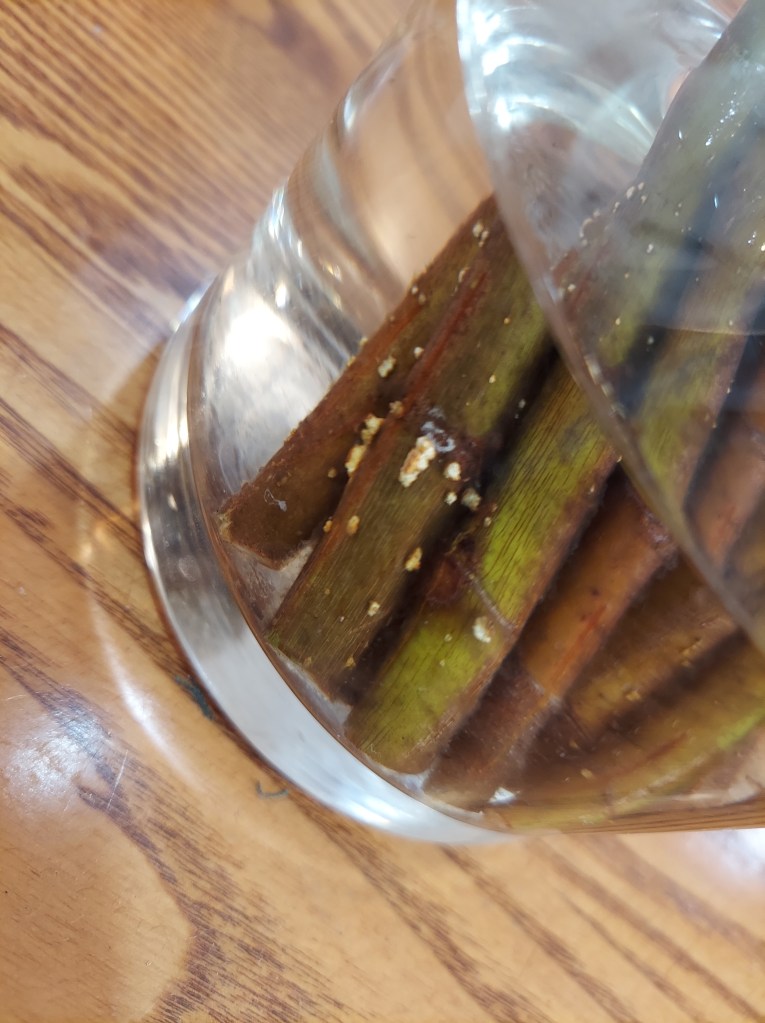
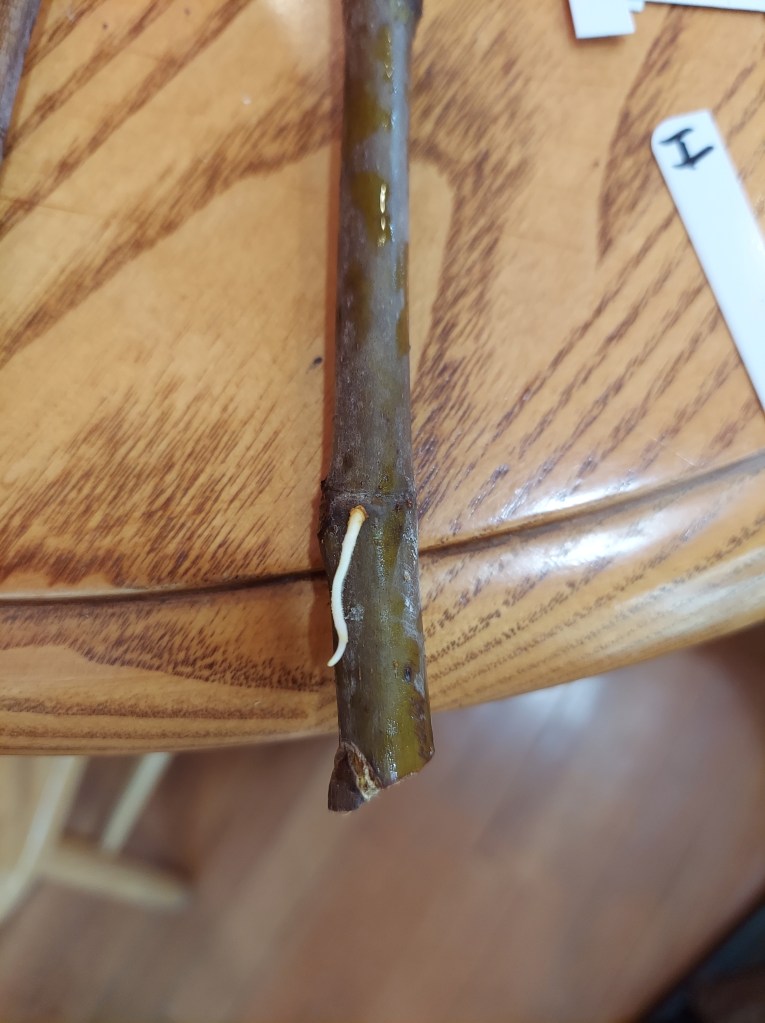
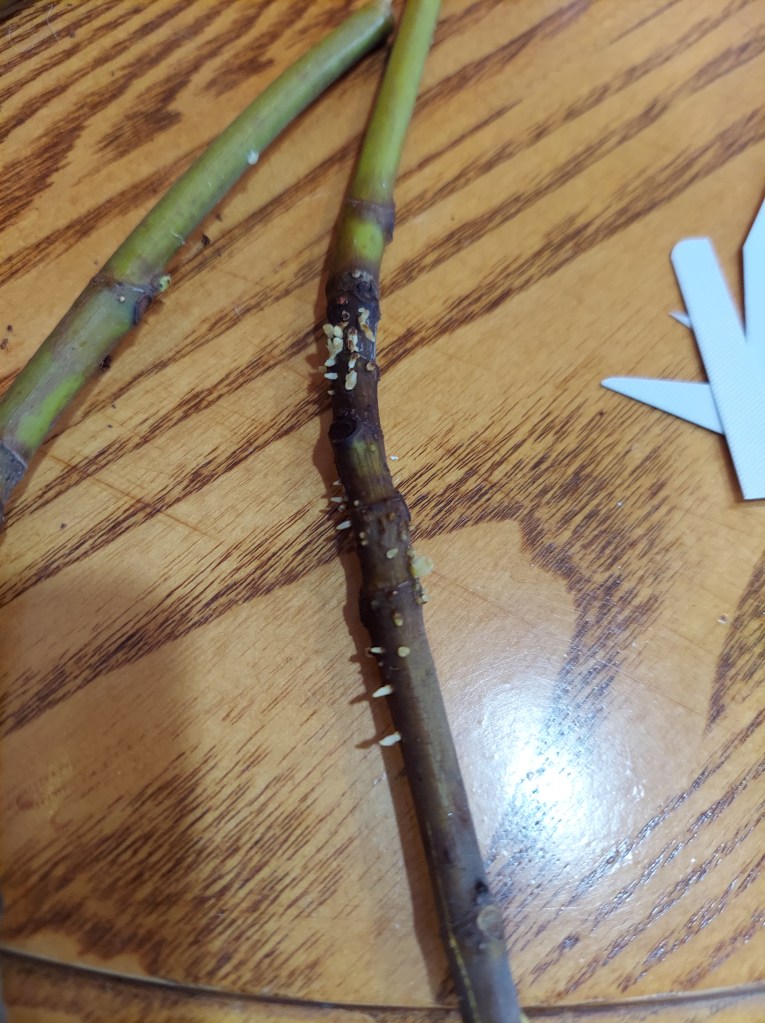
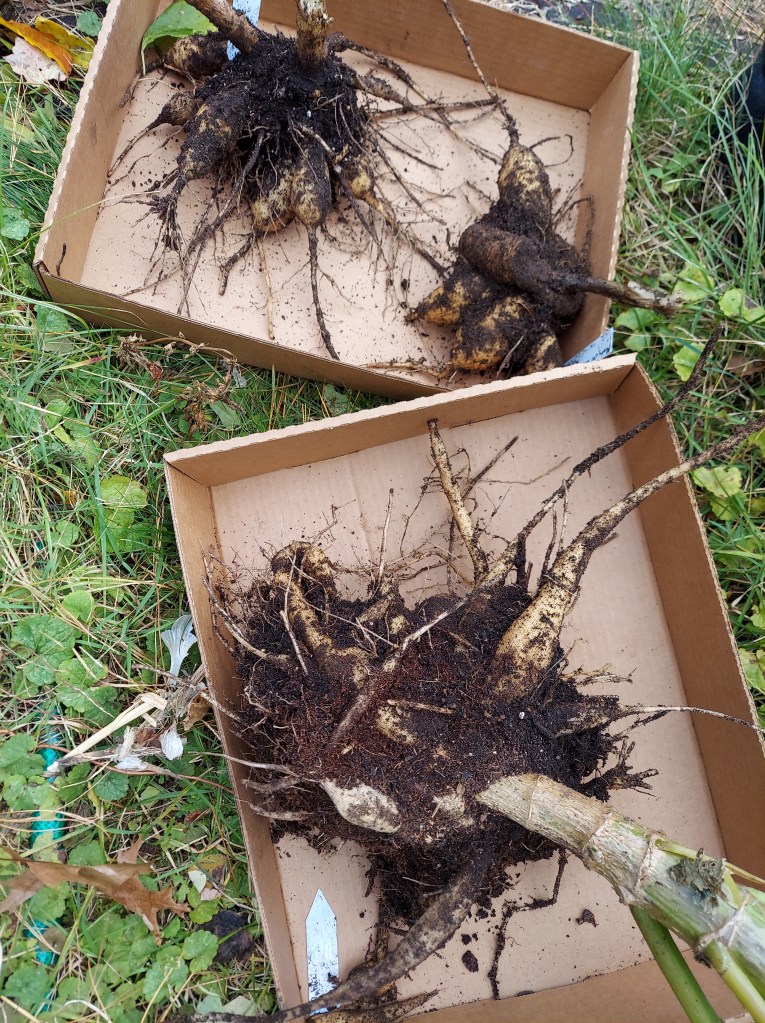
The perennial herbs have already been productive. I’ve harvested sage twice and lemon balm once. Several ounces of fresh stems each time which I have been air drying. When I get more volume over the summer I will use the dehydrator to speed things along.
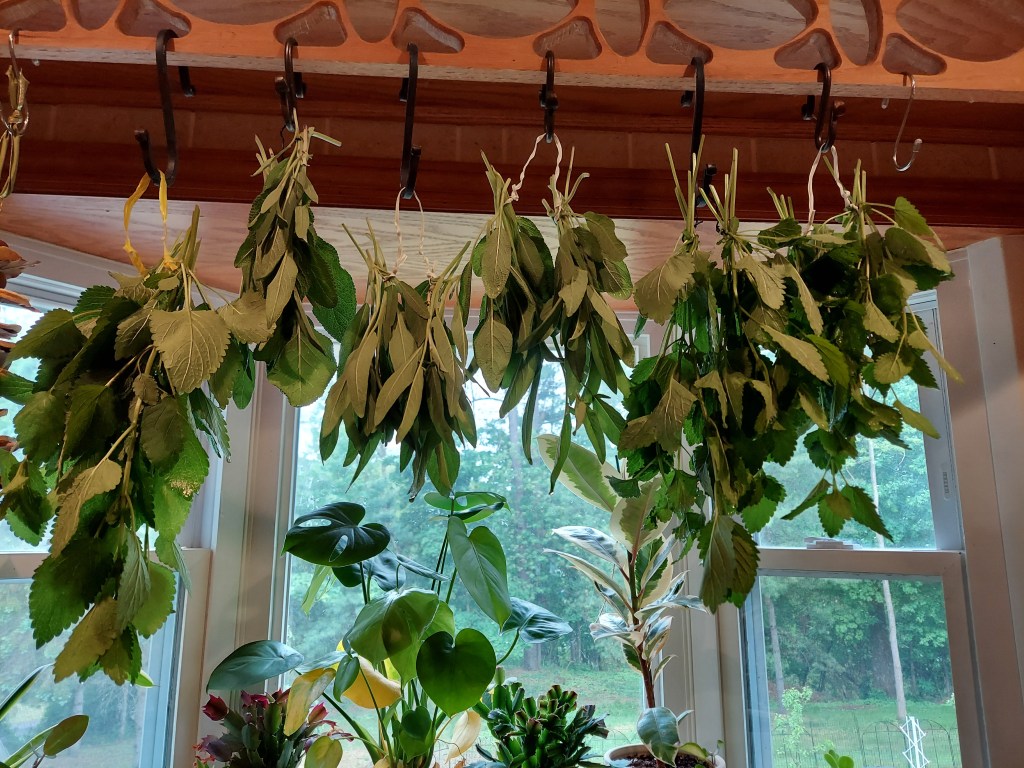
Bundle drying in the kitchen window
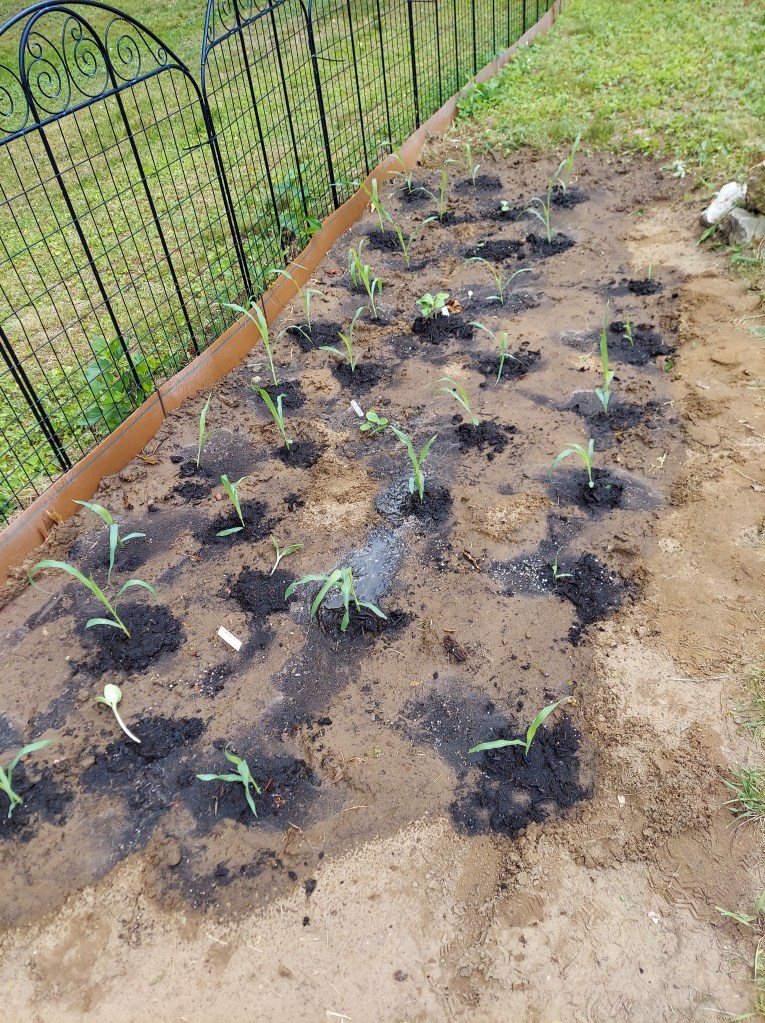
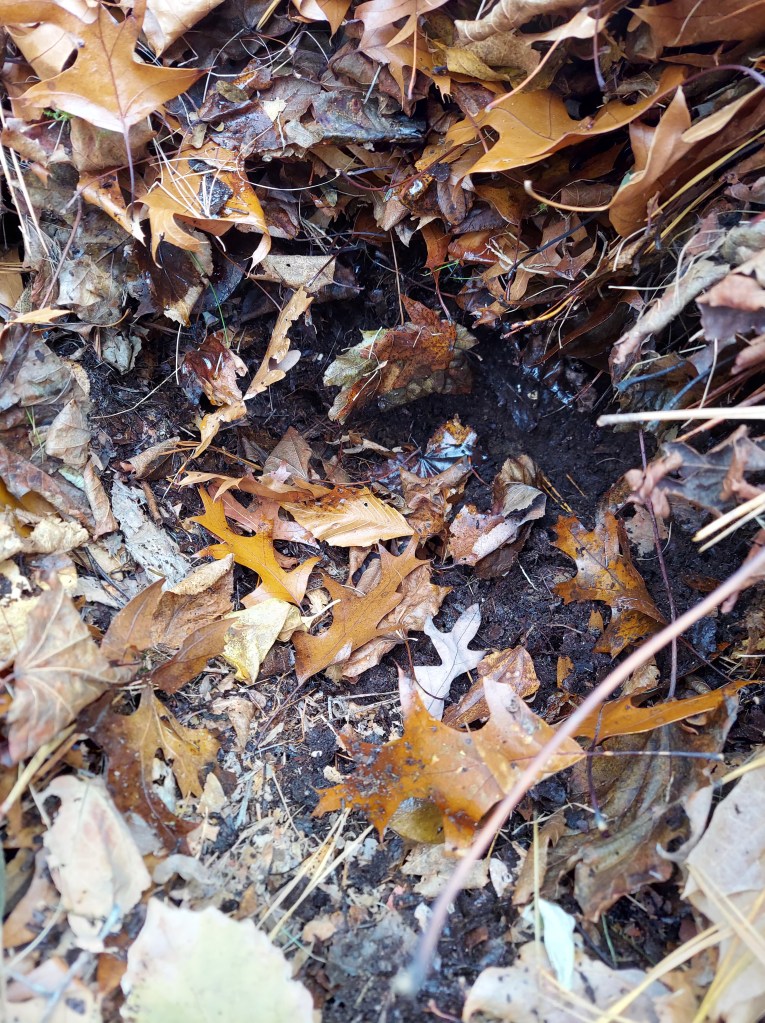
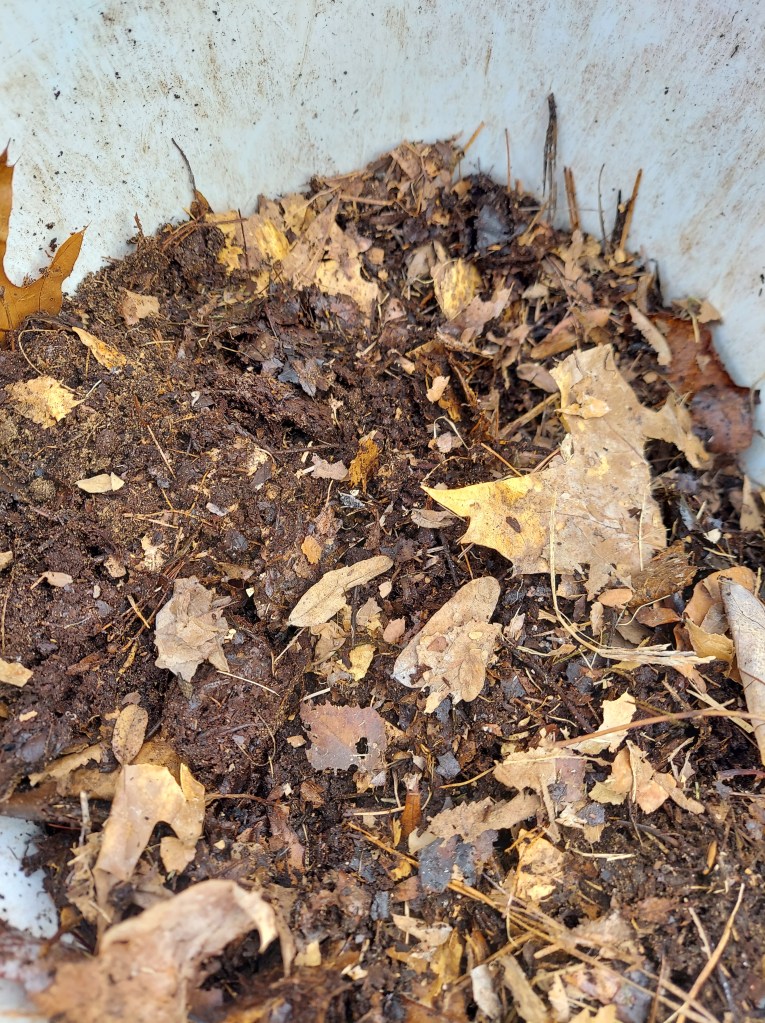
The last big project for the month of May was planting out the corn patch. Here we have four rows of 30 corn seedlings with 6 winter squash seedlings down the middle. I also flipped the current compost pile into a new bay, so it can sit and continue to break down over the course of the season. After it sat for a few days I planted a couple of pumpkins in the top. The ones I grew last year in the same manner did really well, so hoping for a repeat on that.
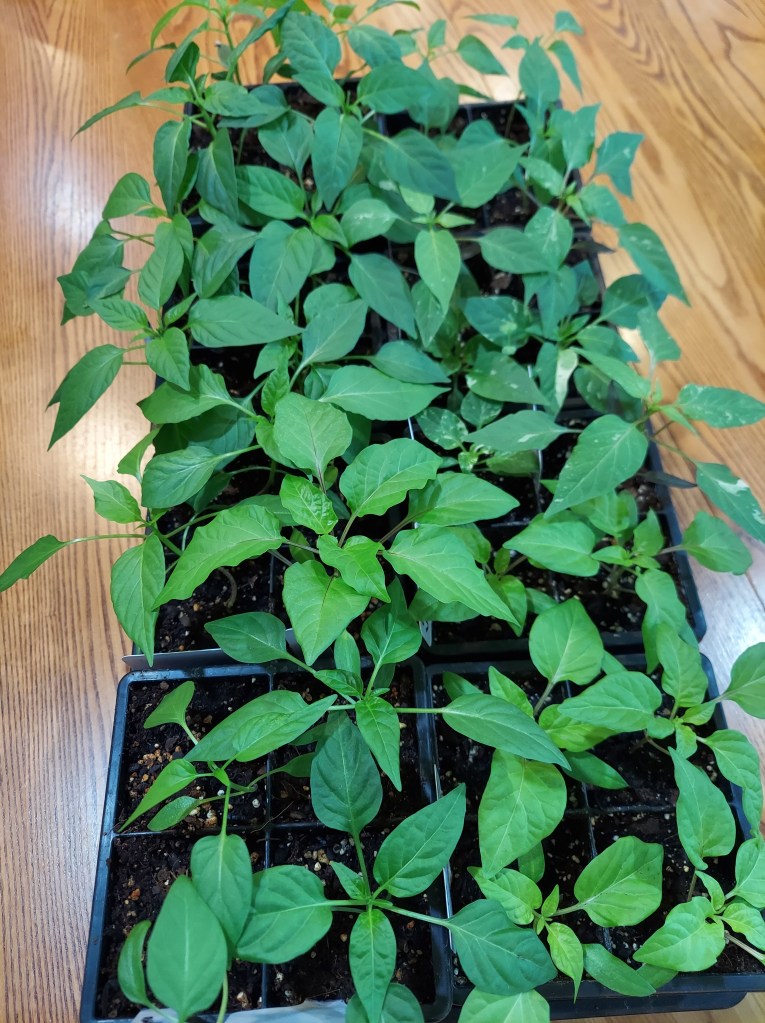
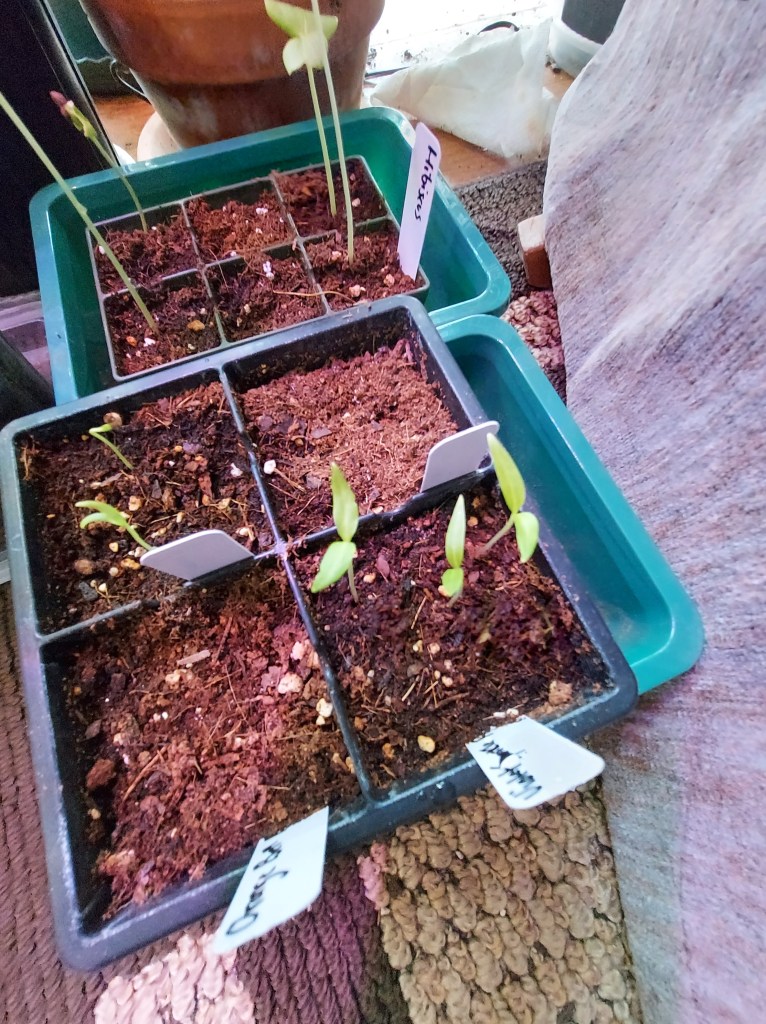
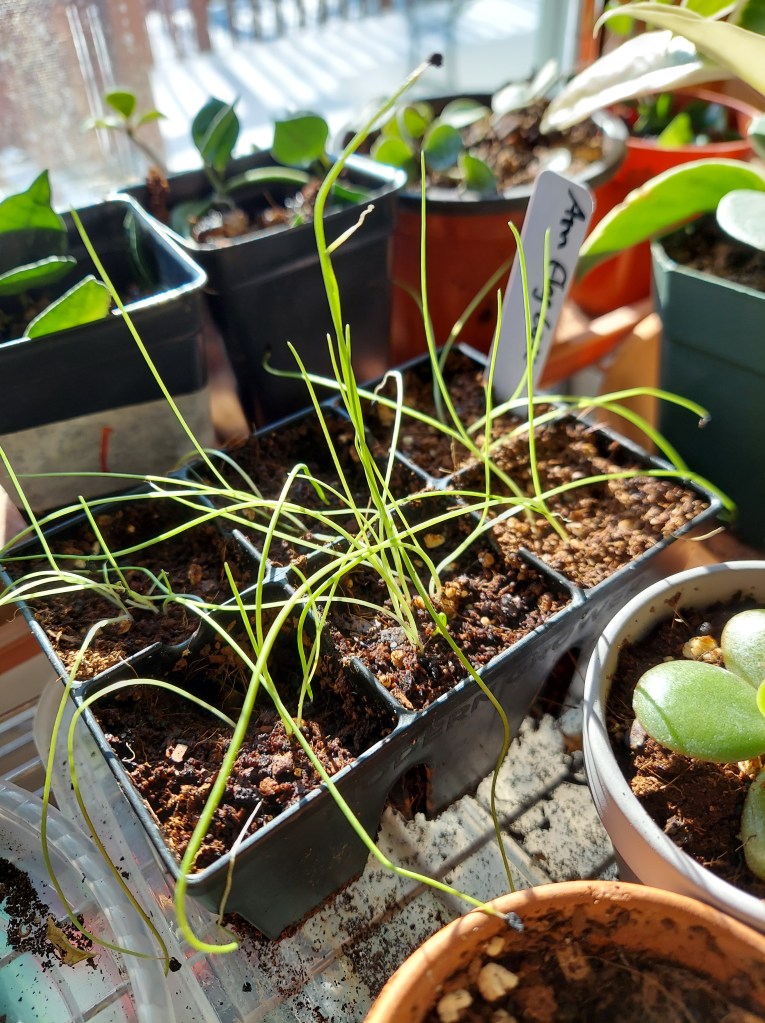
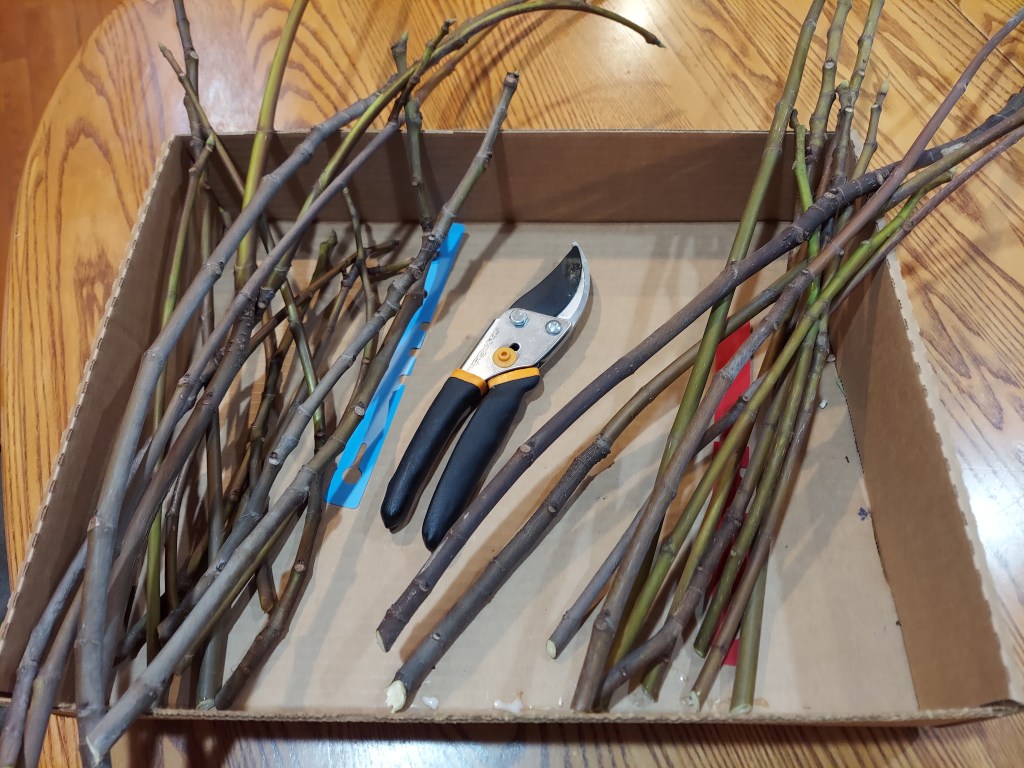
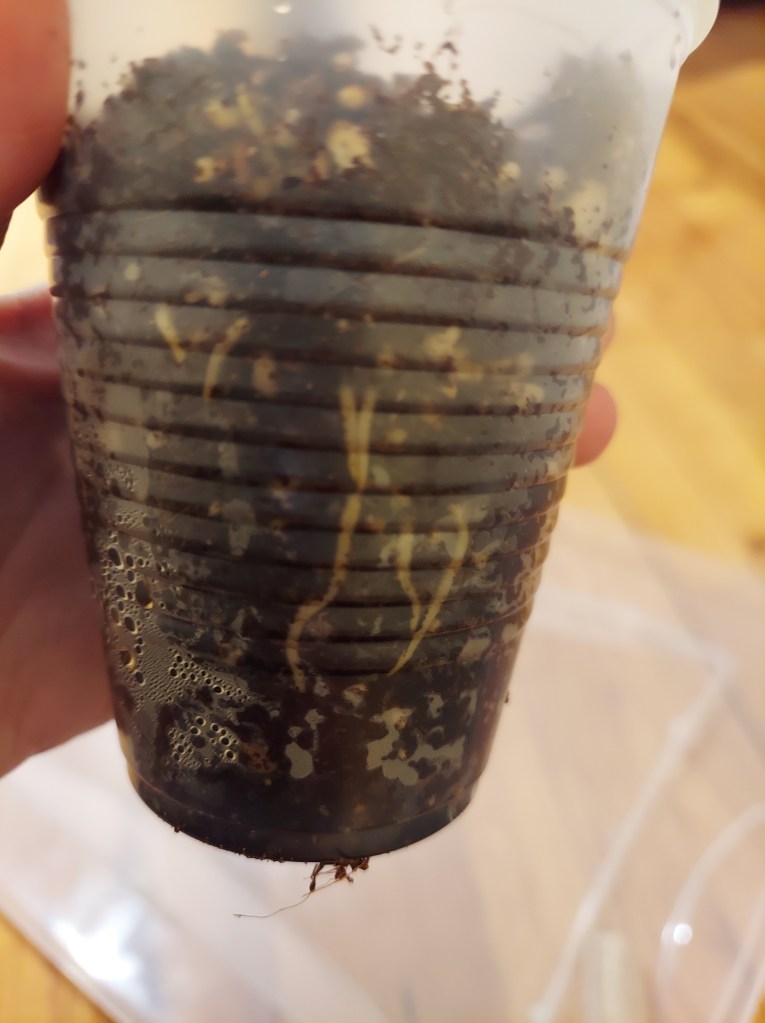
I still have several more trays of seedlings to plant out including the rest of the winter squash and cucumbers, indigo, melons, zinnias, basil, and a few straggler tomatoes and peppers. I bought two new small coreopsis plants that also need to be planted. Unfortunately, most of the onions I planted from set bolted already, so they have been harvested, chopped, and frozen for future use. I spotted my first garlic scape a couple days ago!